
Engine update

Now that the body electrical system is working I was able to do a compression test. When I did the compression test I found that #1, #3 and #4 figures were around 110 psi, with #2 showing 75. However after putting some oil in the bore and using a better tester It was showing 110 psi like the other cylinders. A cold compression test for an engine in this state should be closer to 150-160 psi.
I have not done any work to the engine apart from replacing the head gasket as the previous owner said he checked it himself and that the engine was in good working order. Unfortunately I was not able to do a compression test earlier on until I bought my second engine which had the starter and transmission necessary to do an off-car compression test.
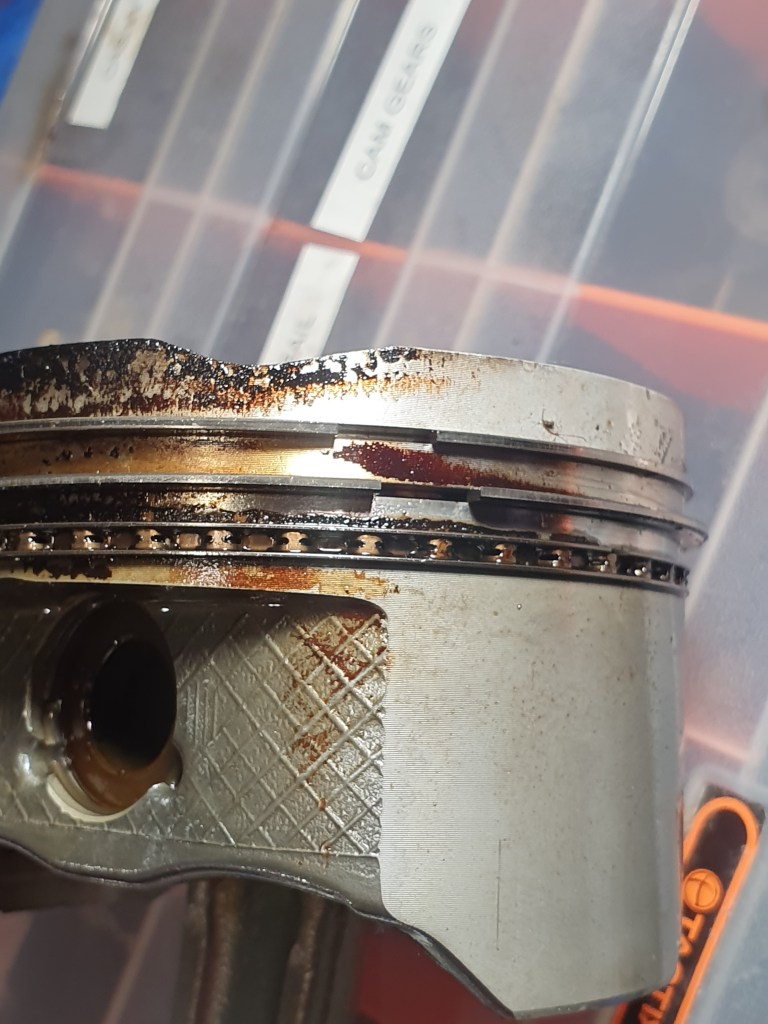
There are several multiple causes for such low compression, the issue with #2 is a possible piston ring issue, but I am going to do some more tests before deciding if the engine needs to come back out.
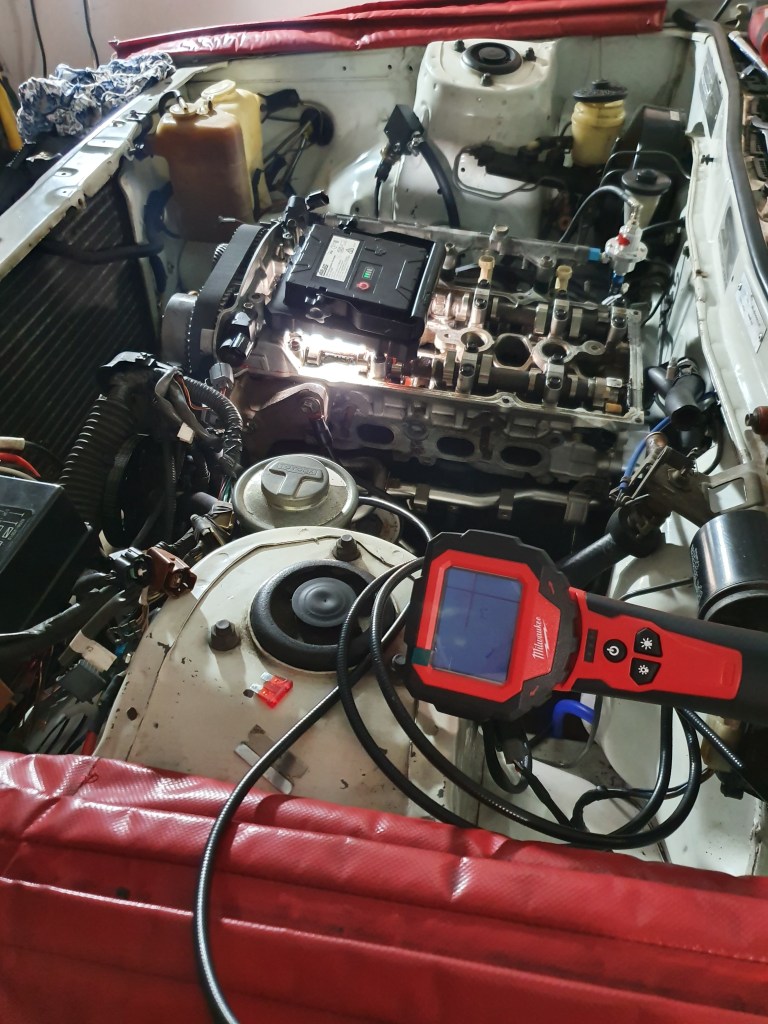
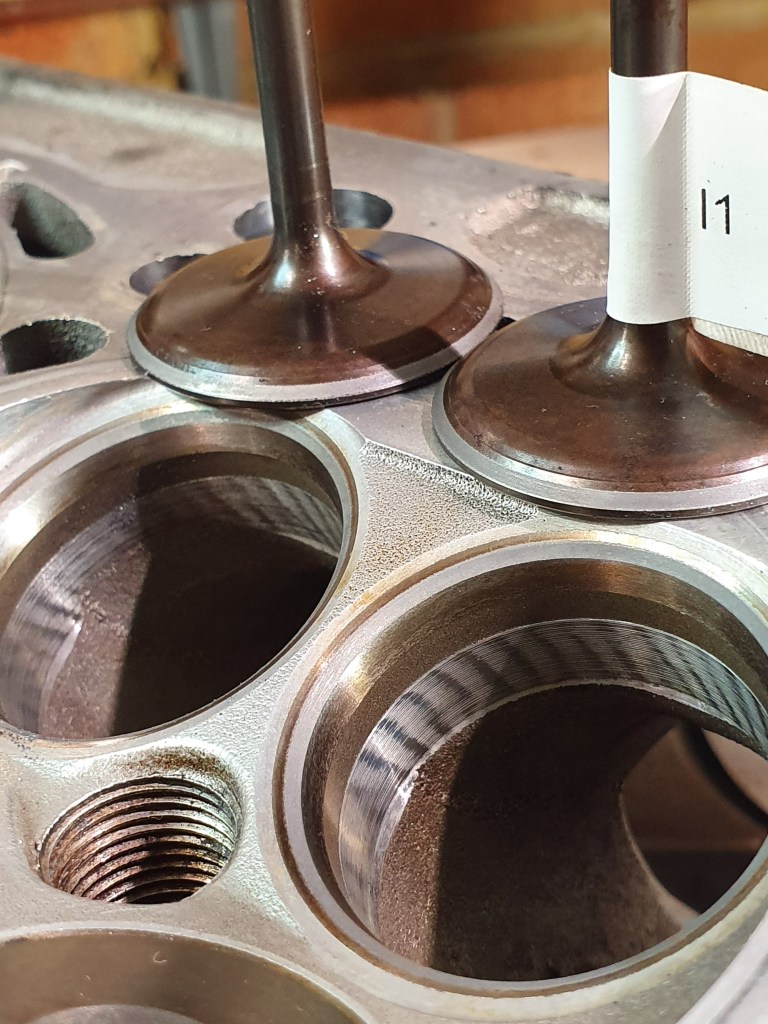
Since the manfolds are already off I can do some on car checks on the valvetrain. I had a closer look at the valves. I shone a light into the #1 spark plug hole, rotated the engine to TDC. Using an inspection camera I checked the ports to see if any light was bleeding through, which would be an indication of valves not sealing properly. No light was seen so at this stage I know theres not something drastically wrong with the valves. I double checked the timing and valve clearances they are within spec.
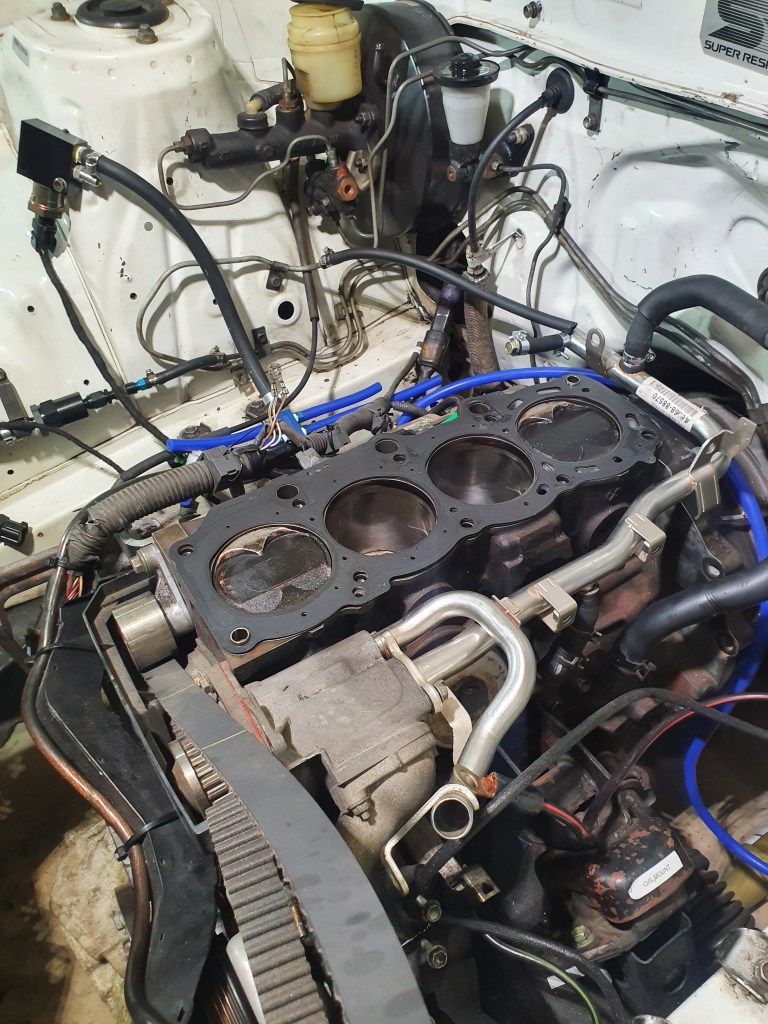

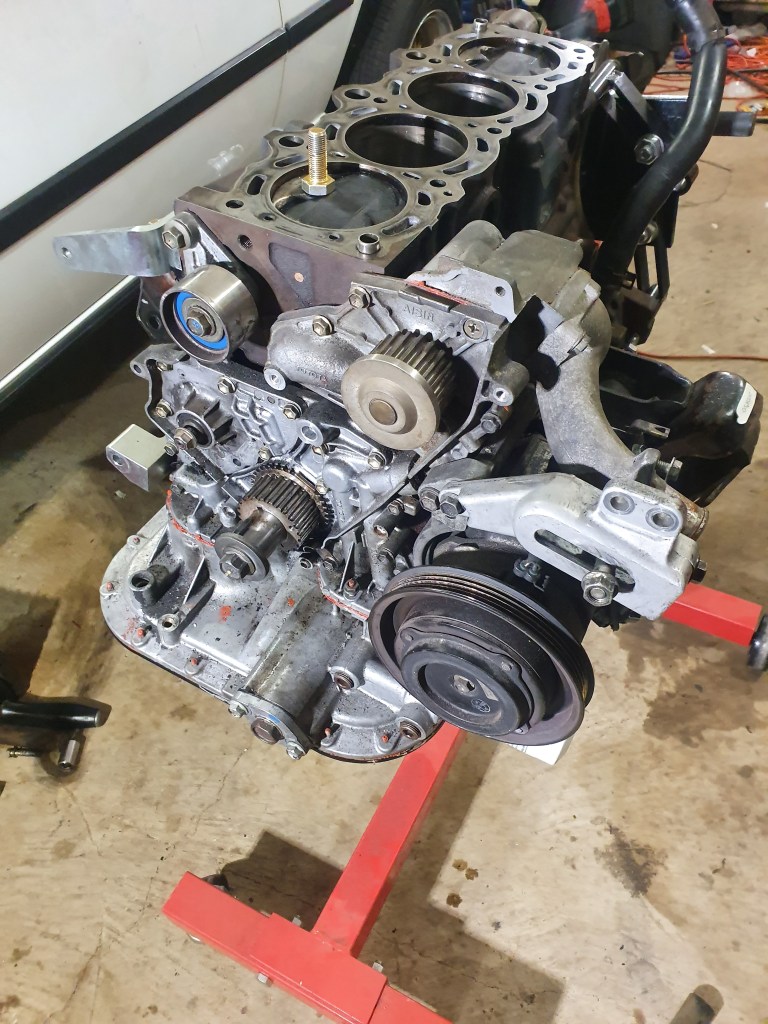
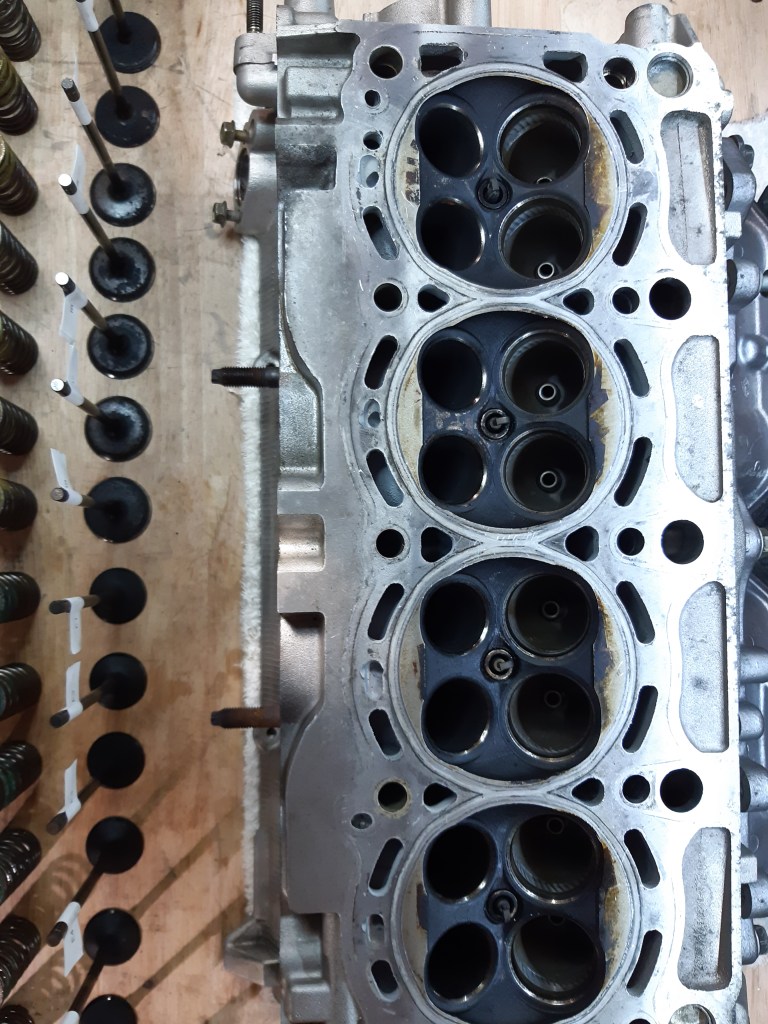
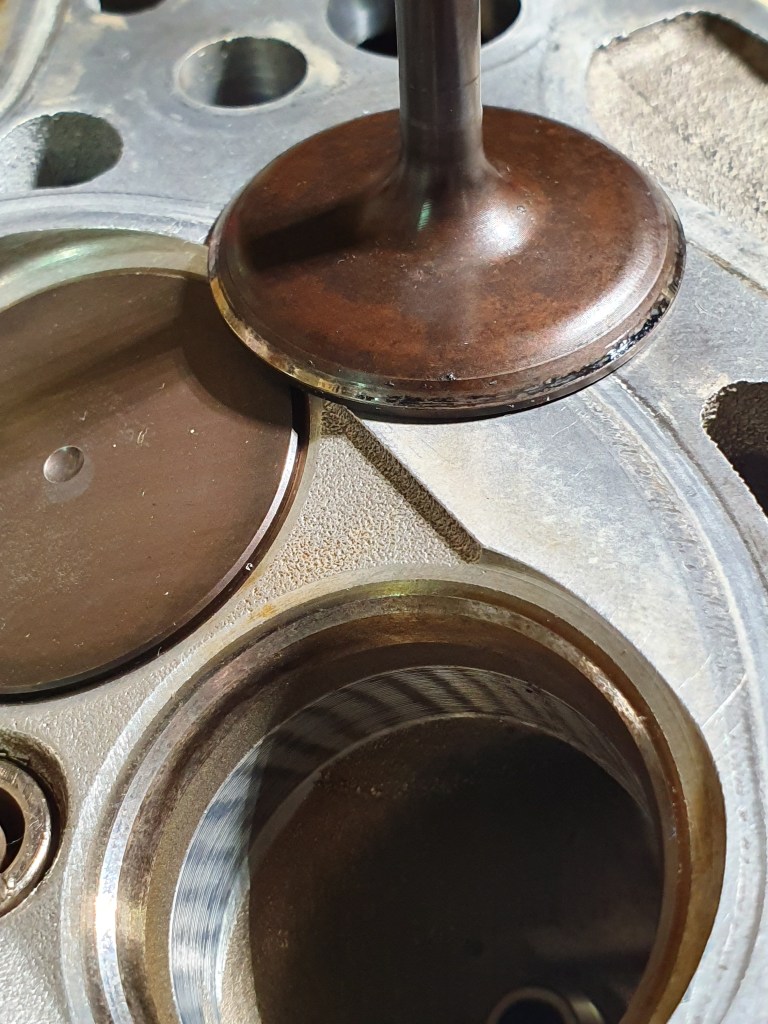
I took the cylinder head off to investigate futher. I checked the head and block surfaces with a straight edge they are within spec. I filled the combustion chambers with water to do a leak test. If any of the valves are not sealing correctly, the water will leak past the valves and into the ports. It’s a pretty basic test but will indicate if the valves are not sealing correctly, or any kind of deformation.
After 30 minutes there was only a slight leak on one of the #2 inlet valves. When I did this test on the 7MGE in my Cressida it had lost a significant amount of water in that time and needed repairs. This head looks to be in much better shape. I am going to disassemble the head and check/lap the valves, replace the stem seals and fix any other issues I find.
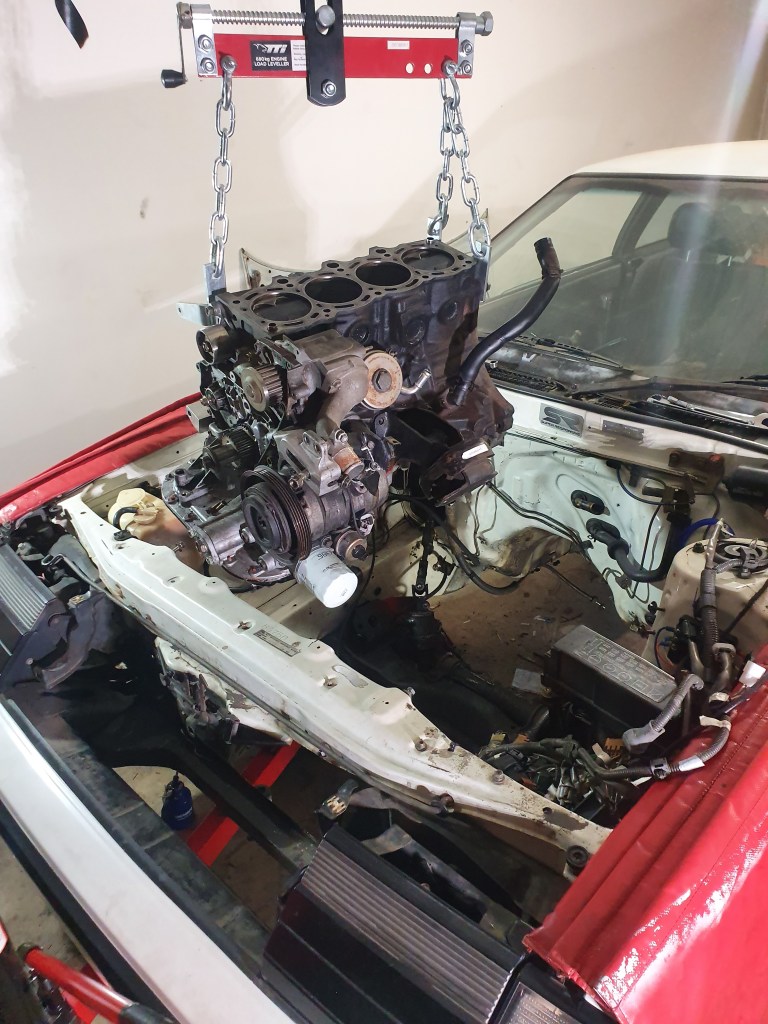

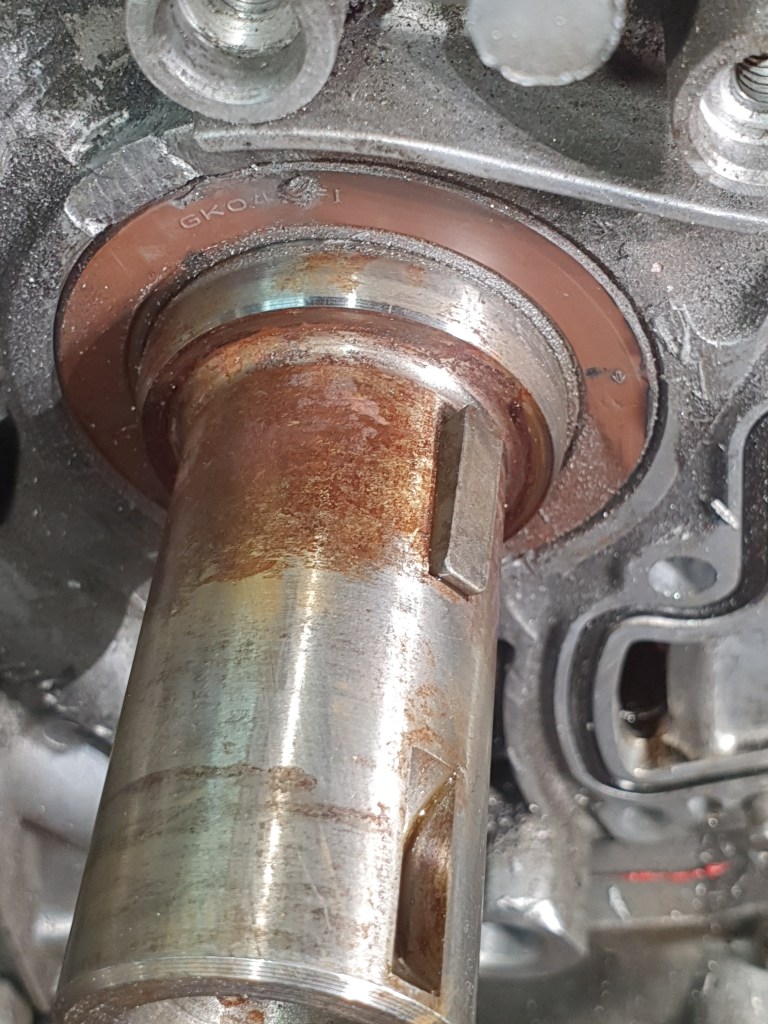
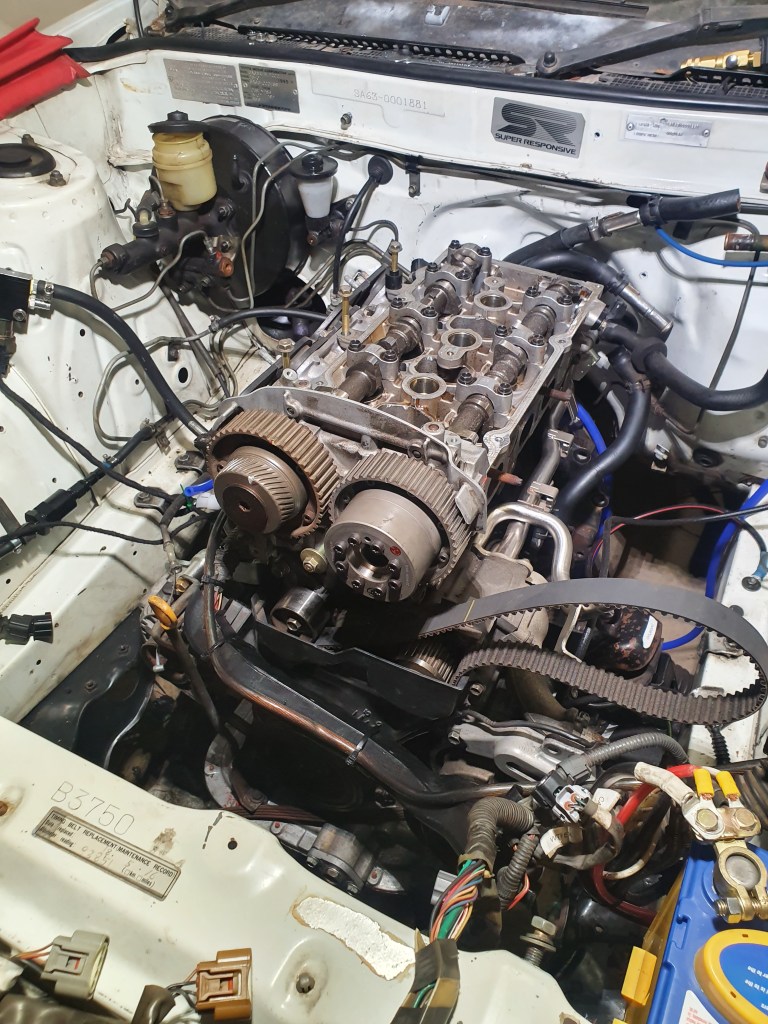
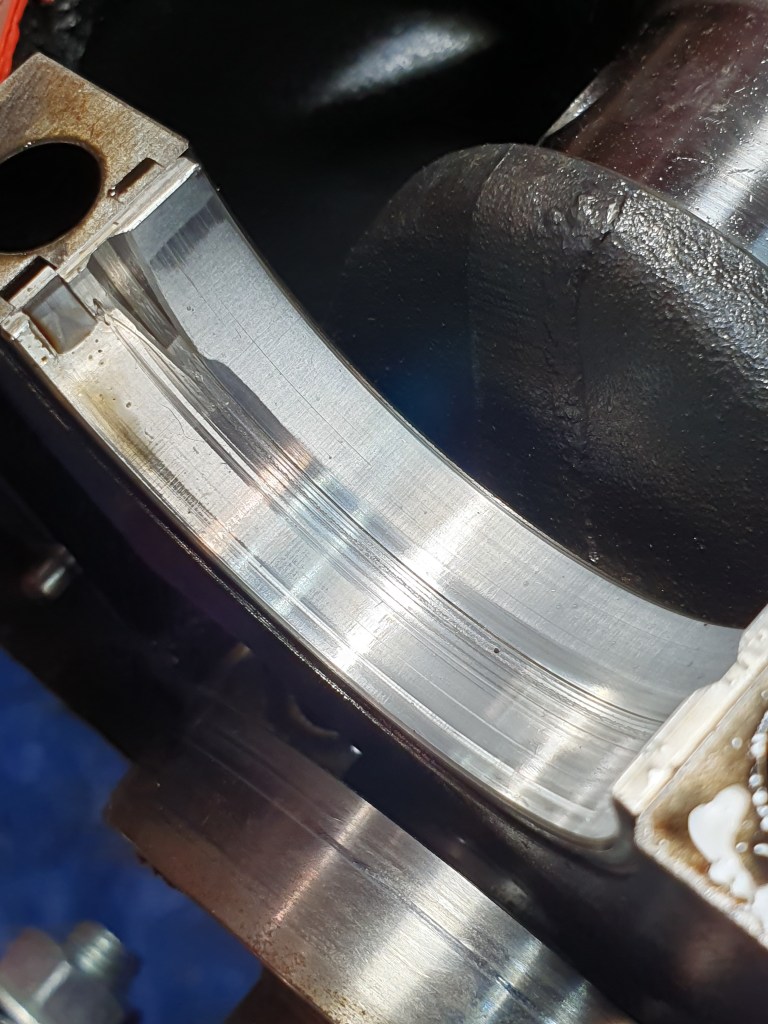
The crank pulley was completely seized on and after several attempts to move it I had to cut the pulley so that it could be removed. The cause of the jammed pulley was due to the surface rust, and the front corners of the key were damaged, stopping the pulley from being removed. I will be swapping this crankshaft with the one from my second engine, which I have checked and it is still within spec.
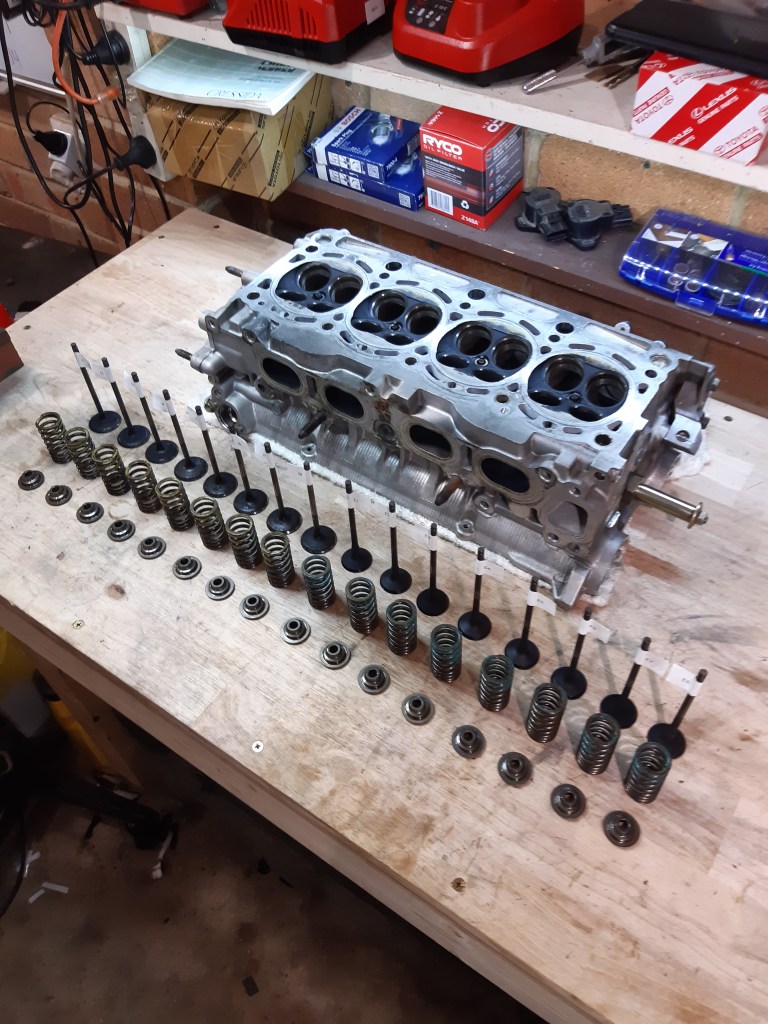
The valves have been removed so that I can replace the stem seals, and clean the carbon off the surface of the head and the valves. I have an old Blue-Point overhead valve spring compressor which was suitable for the original 2S-C engine but due to the lack of clearance on 3SGE’s and other modern engines I used a Clamp type valve spring compressor The valves also need to be lapped once I check that they are still within spec.
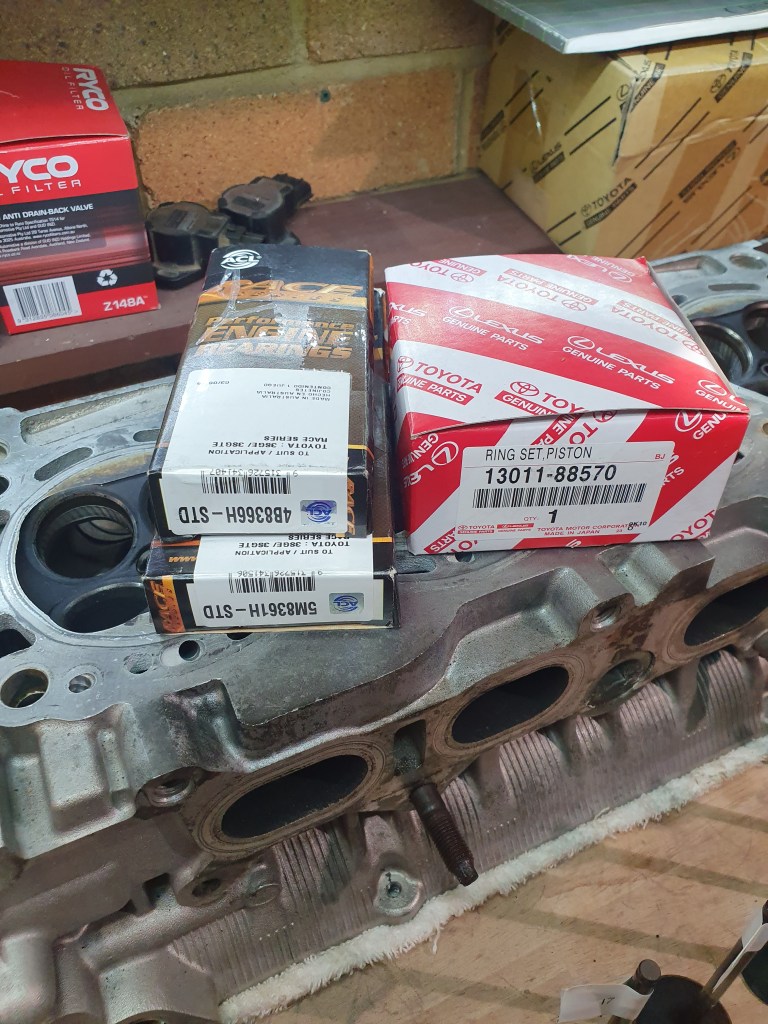
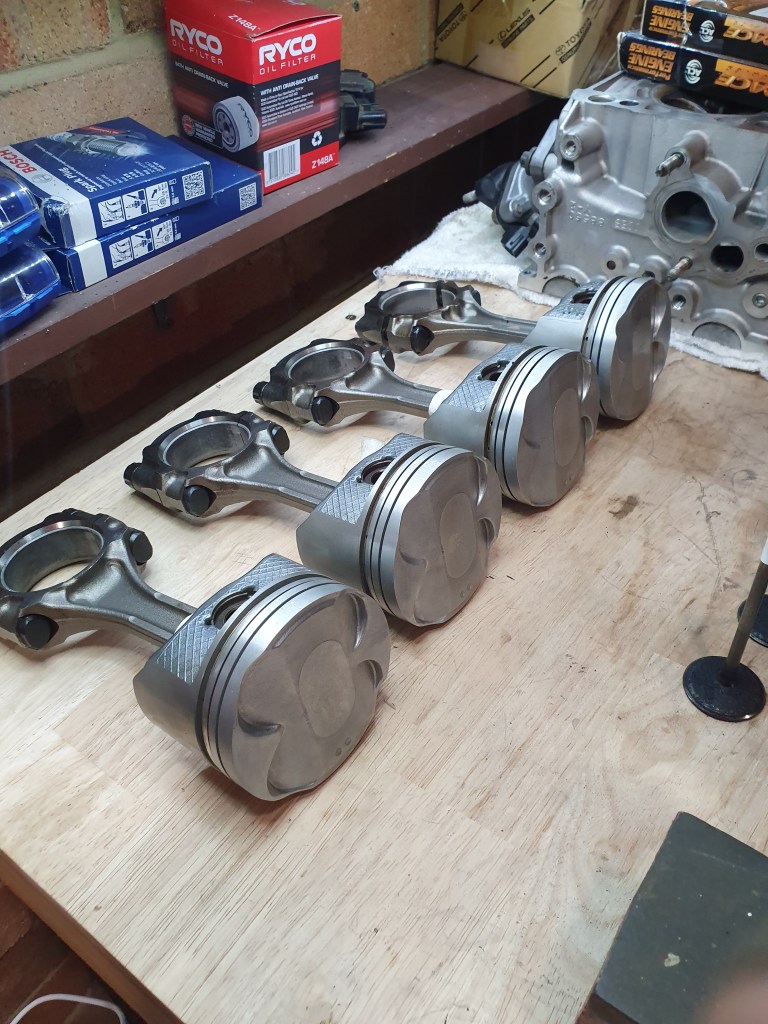
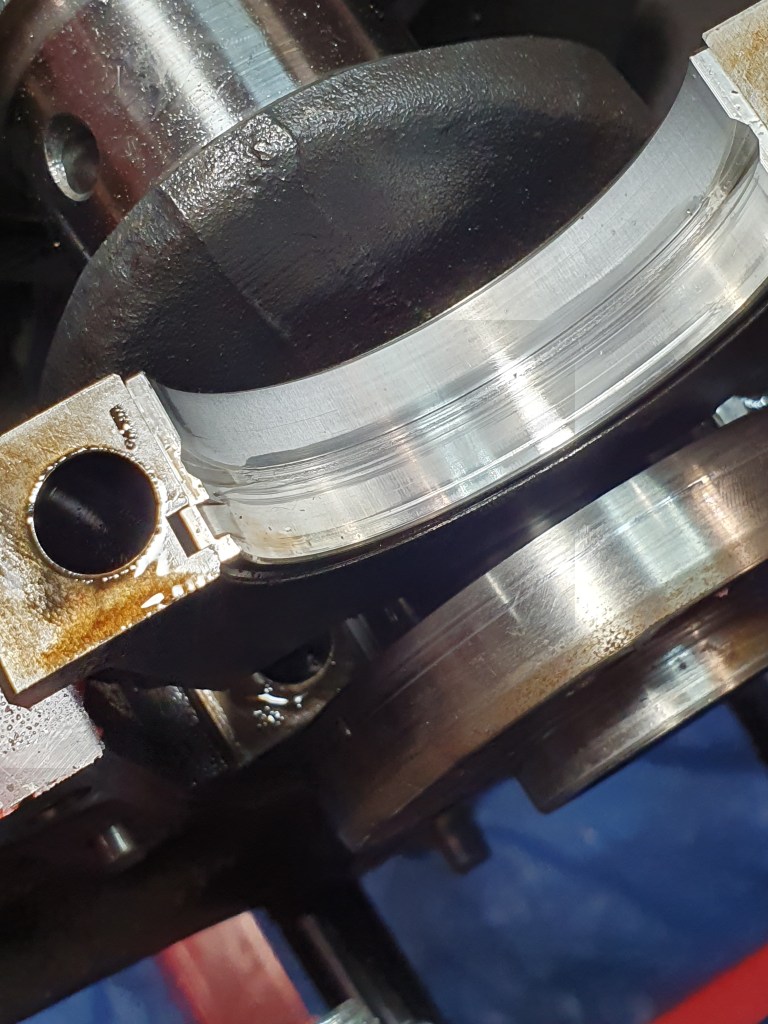
I will be fitting new piston rings, ACL main bearings (5M8361H-STD) and conrod bearings (4B8366H-STD) while the engine is apart. The main and conrod bearings from 3SGE gen 2 onward are the same as in the gen 5 BEAMS, I am not sure if earlier series pistons have the same rings so I ordered a genuine Toyota ring set for a gen 5 3SGE (13011-88570) I had originally planned to upgrade the valvetrain with upgraded valve springs and camshafts, but the brakes and suspension on the Celica is still from 1984 so I will be upgrading those first before looking at internal engine upgrades.
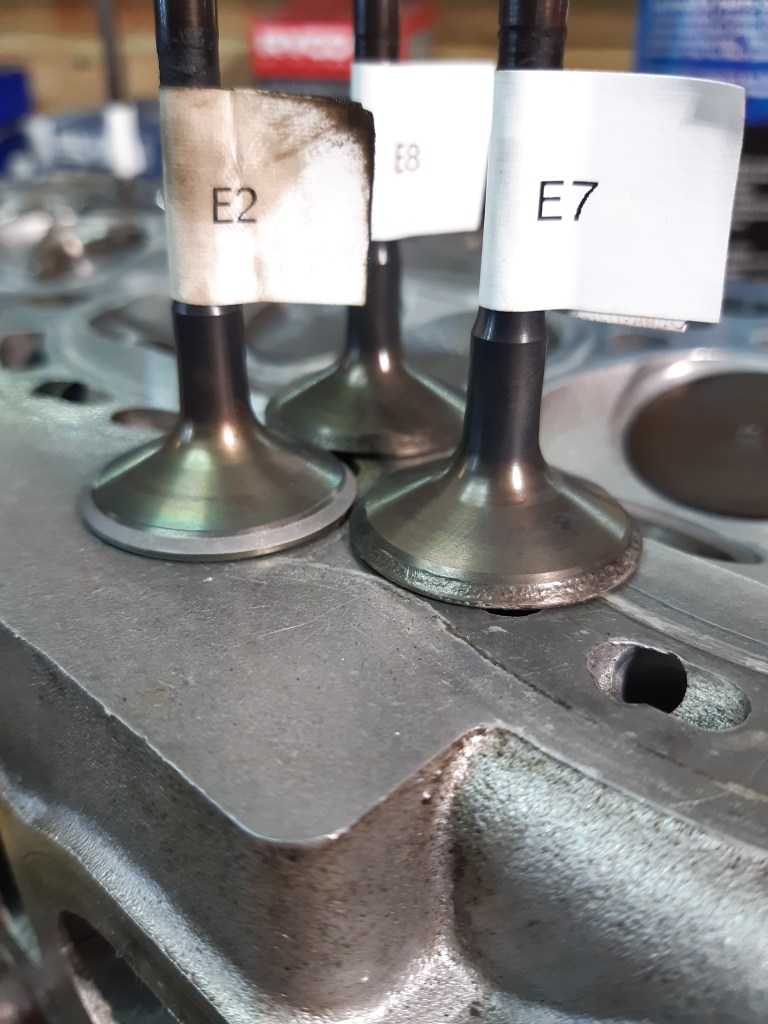

After lapping the exhaust valves there is still some imperfections on the seats. The valves will need to be replaced. I pulled the exhaust valves out of my spare engine to see if they are usable. My other engine also has compression issues, but from what ive seen its caused by worn piston rings, and carbon on the valve seats as the engine has been burning oil.
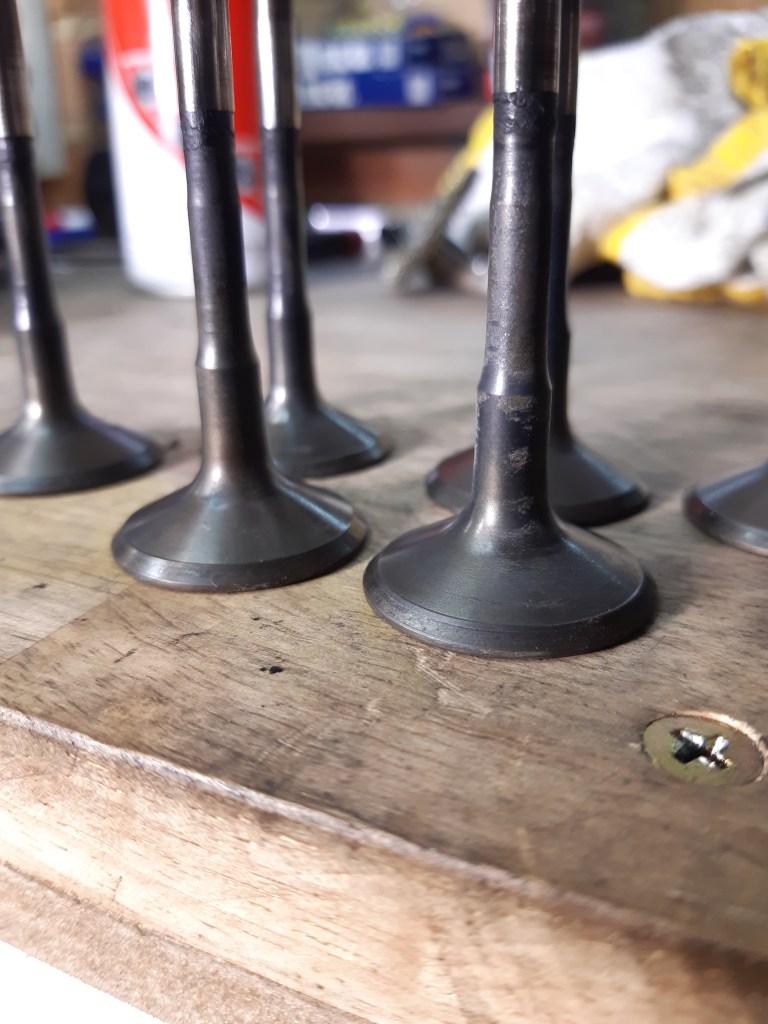
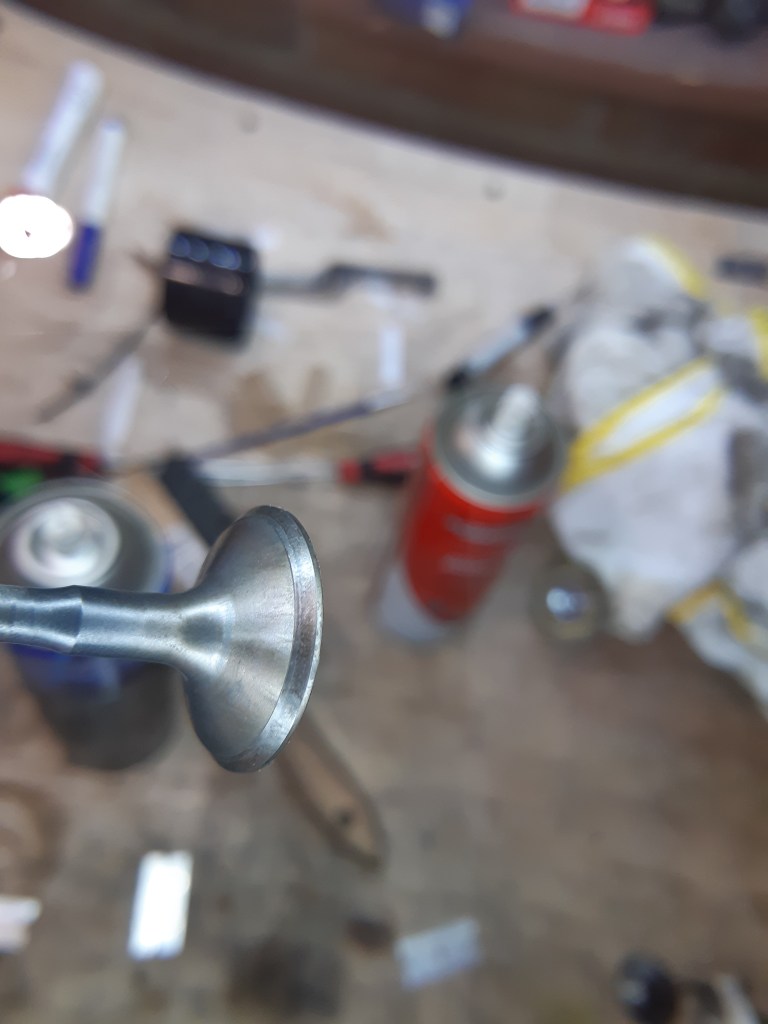

Apart from some carbon deposits, this set of valves are in much better shape. This set of valves have been cleaned and I have started lapping them. Once the head is back together I can finish the bottom end.
Related Posts
Categories

Thanks Michael, i am a little relieved, mine will be for rally.
LikeLike