
SA63 Light Conversion
While the chassis is pulled apart to do the rust repair, I decided to swap out the RA60 front lights and replace them with the pop ups from the white … Continue Reading SA63 Light Conversion
My 1984 Toyota Celica
While the chassis is pulled apart to do the rust repair, I decided to swap out the RA60 front lights and replace them with the pop ups from the white … Continue Reading SA63 Light Conversion

Now that the vacuum distribution block is fitted, I can work towards getting a solid idle. It wont be possible to get the idle perfect while the base map is … Continue Reading Idle and Cold Start.

Now the engine is working I wanted to take a closer look at the rust on the car. After removing the window trims and roof lining I found the rust … Continue Reading Chassis Swap

Before I could try to start the engine, I had to first check if the engine had oil pressure, and the ECU was recieving the required signals to start. I … Continue Reading First Engine Start

Due to the pitting on the exhaust valves, I have taken the valves out of the cylinder head on my spare engine. The second head has some compression issues of … Continue Reading Engine Reassembly

20200130_211210 Now that the body electrical system is working I was able to do a compression test. When I did the compression test I found that #1, #3 and #4 … Continue Reading Engine update

I have started joining the Celica chassis harness to the 3SGE/Haltech harness I have already put together. The original engine didnt really have a harness, as there wasn’t much in … Continue Reading Chassis Wiring

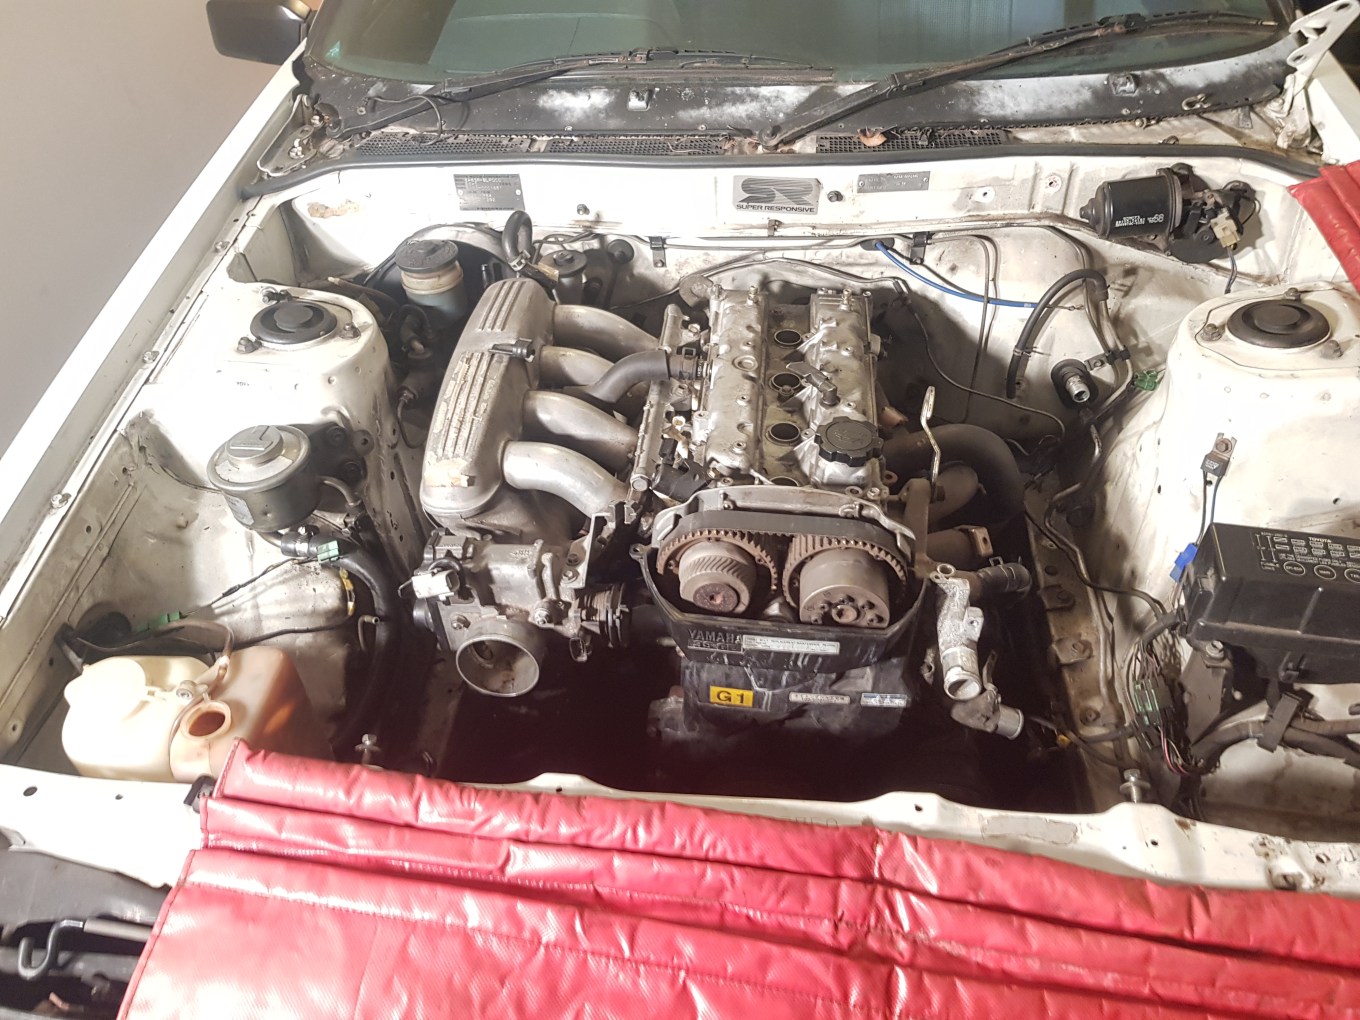
Now that the engine and transmission are bolted up to the correct position I can start put everything back into the engine bay. Apart from the nose being shorter, the … Continue Reading Engine Installation

The bracket bolted on top of the flywheel is an SQ Engineering flywheel locking tool. The engine is being held steady by the crane, but is still moving back and … Continue Reading J160 Gearbox and shifter installation

After spending several months looking for either a Y series bellhousing or a J160 for sale in australia and finding neither, I decided to buy a complete SXE10 Altezza half … Continue Reading J160 6 Speed

I had originally planned to use the beams intake, but decided that the benifits of changing to an ITB setup was worth the small cost increase These are the ITBs … Continue Reading 4age 20v ITB’s
One of the first problems I found with engine bay clearance is the differences between the sumps. The 2s has two brackets that attach to the transmisson. On the BEAMS … Continue Reading Test Fitting the BEAMS

Getting Started
