Engine Reassembly

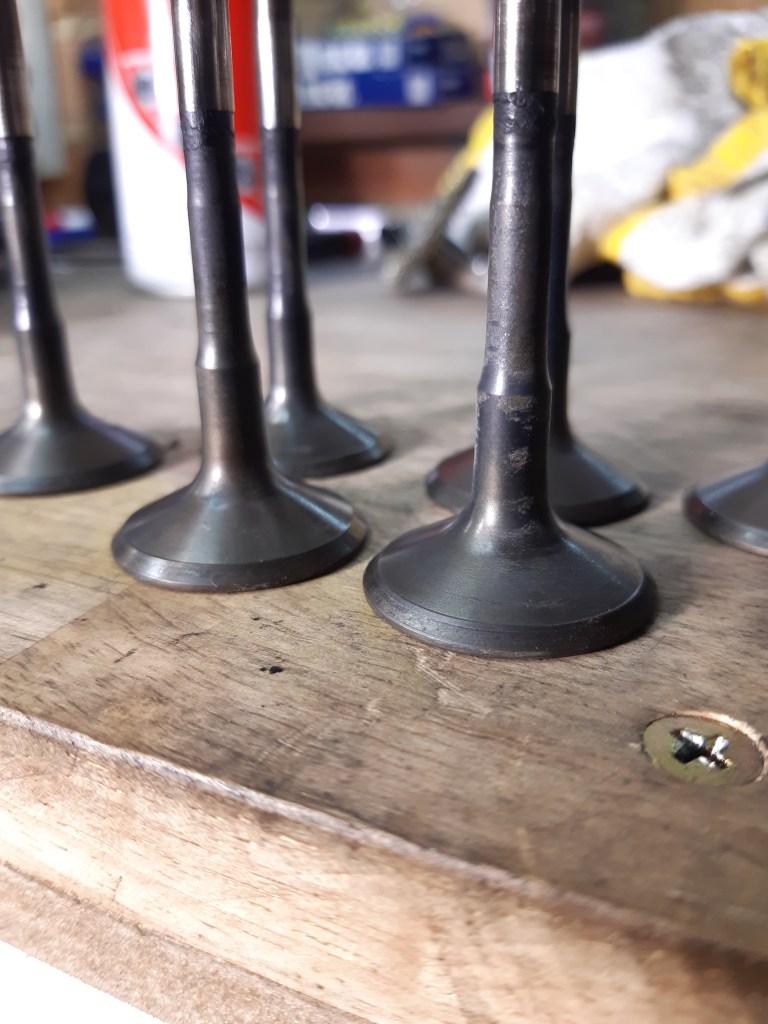

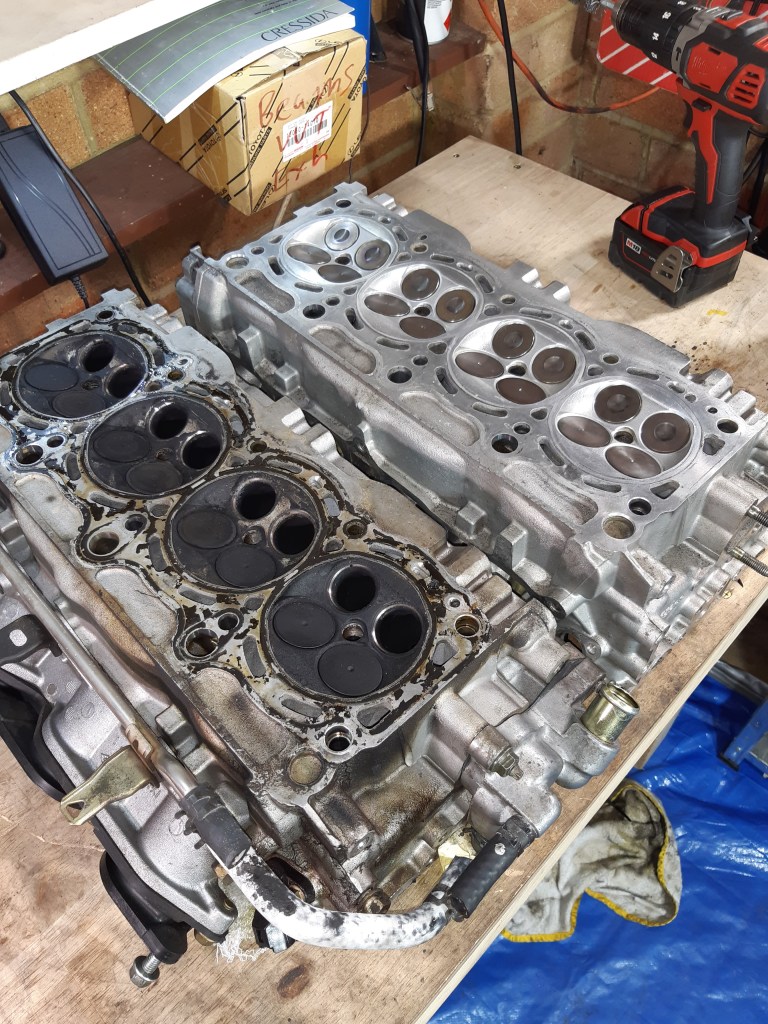
Due to the pitting on the exhaust valves, I have taken the valves out of the cylinder head on my spare engine. The second head has some compression issues of its own but apart from some carbon on the seats the exhaust valves are in good shape. At this stage I’ve decided to keep the valve train stock, but will look at upgrades later on.
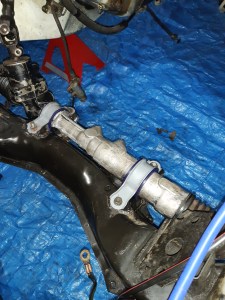
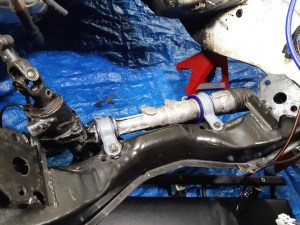
While the engine is out I replaced the old steering rack bushes with new Super Pro ones (SPF3480-64K). This can be done with the engine in but the RHS bush is not easy to fit, and there is less clearance with the new engine compared to the old.
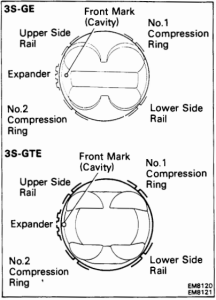
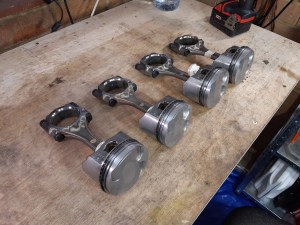
New piston rings (13011-88570) have been fitted. The rings have been offset in accordance with the above diagram. This diagram is for a gen 3 3SGE but the ring set up is the same. New conrod and main bearings have also been fitted (ACL 5M8361H-STD & 4B8366H-STD). The ring end gap and oil clearances have been checked and are within spec.

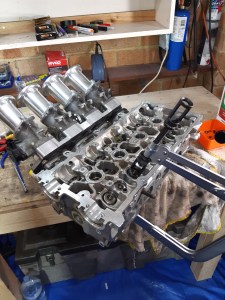
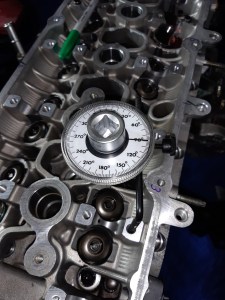
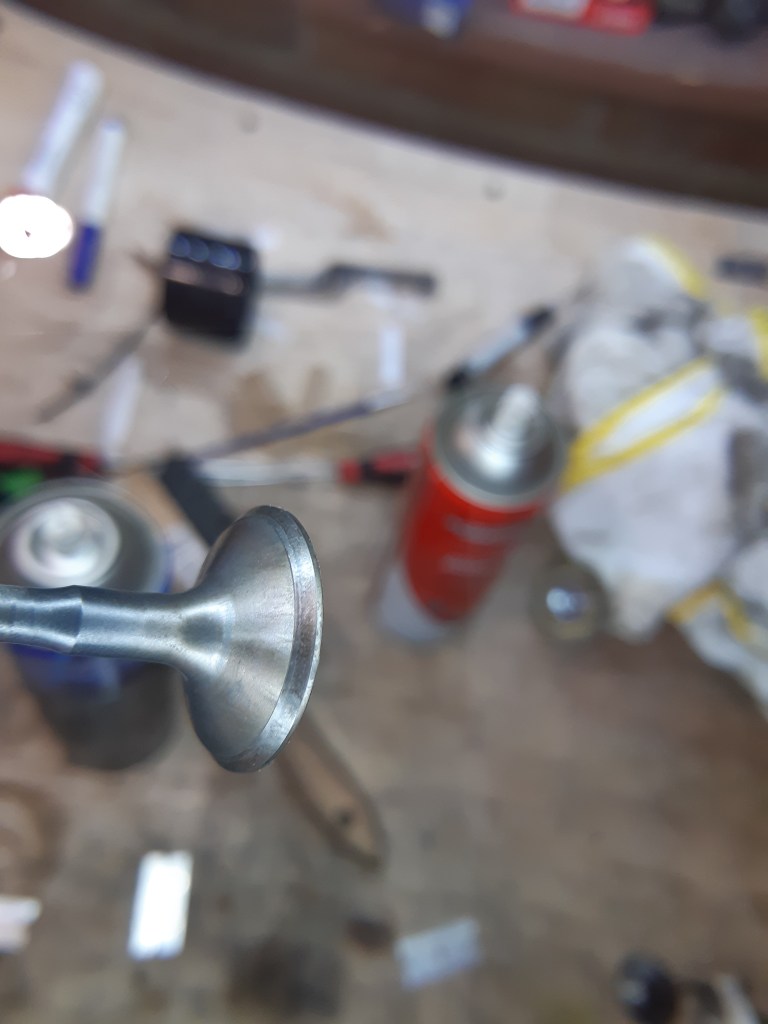
The head has been lapped and reassembled with new valve stem seals. Valve clearances checked, they are within spec. (0.17-0.27 mm for intake, 0.25-0.35 for exhaust). The head bolts on 3SGE engines are reusable as long as they are within spec, they are torqued to 49Nm, then turned a further 90 degrees.
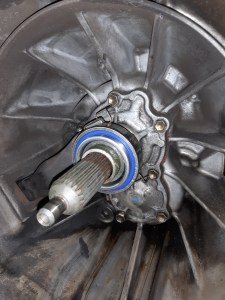

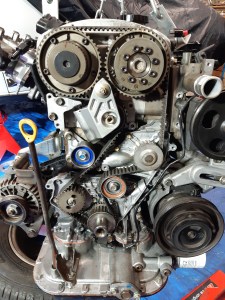
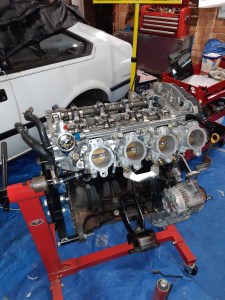
The engine is finally back together. The J160 release bearing was in pretty bad shape so I have replaced it with a new one (31230-53011). New idler pulleys for the timing belt have also been fitted. I have also fitted a fuel pressure gauge to the SARD pressure regulator. For some reason the spare output port on the regulator is 1/8 BSP instead of NPT like the other ports, so to fit this gauge I had the regulator re tapped.
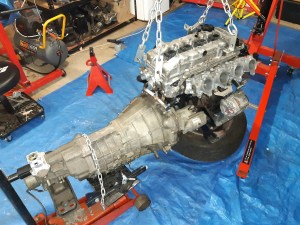
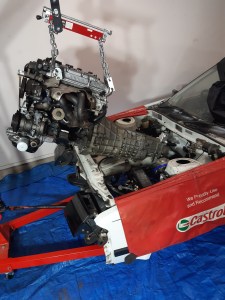

Before I put the engine back in, I did do a compression test. The figures have definitely improved which points to the exhaust valve pitting being the cause of the original issue, but I will be able to get more accurate figures once the new piston rings have been bedded in after the engine is running. I opted to re fit the engine and transmission together after I had issues lining up the transmission from under the car last time.
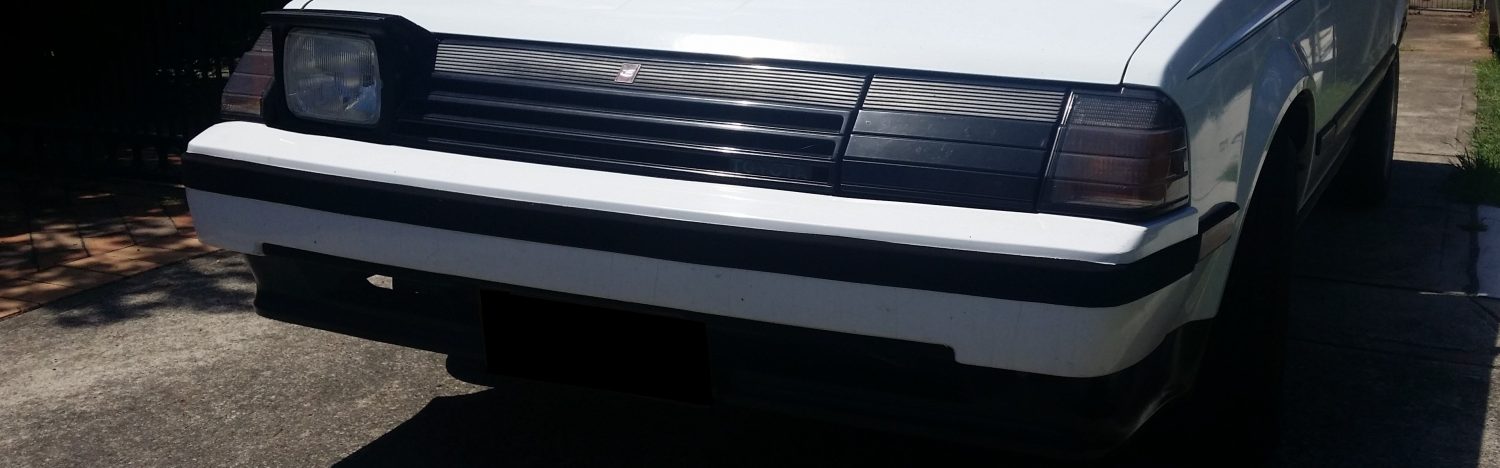
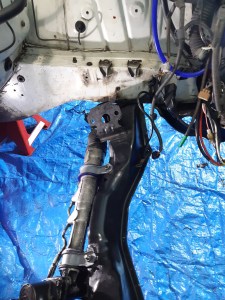
In order for the transmission to fit, the engine crossmember can be tilted back by loosening the crossmember mounting bolts. Also removing the front bumper only takes a few minutes and makes the job a lot easier.
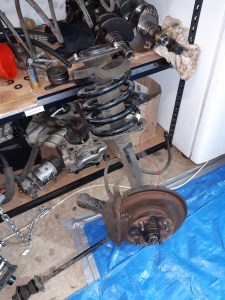
I took the opportunity to test fit the front springs I used to run in my old ST141 Corona. They are ~8kg/mm 165mm free height. The Celica is slightly heavier and sits 135mm off the ground at the front rails with these springs. I will probably run these springs once I find some good dampers to suit. I am still in the early stages of sorting out the suspension and am still looking for a good setup for the rear.
The next steps are to finalise the engine wiring for the Haltech, get a working exhaust then the engine is ready to start.
