
Test Fitting the BEAMS


One of the first problems I found with engine bay clearance is the differences between the sumps. The 2s has two brackets that attach to the transmisson. On the BEAMS it is integrated into the sump, which is made from cast ally. The sump will foul on the steering rack unless it is modified.

The next step was to fit the motor with the sump removed to check clearances.

On the inlet side there is a bit of a tight fit, but I will be running ITBs’s (independant throttle bodies) instead of this manifold so that wont be an issue.
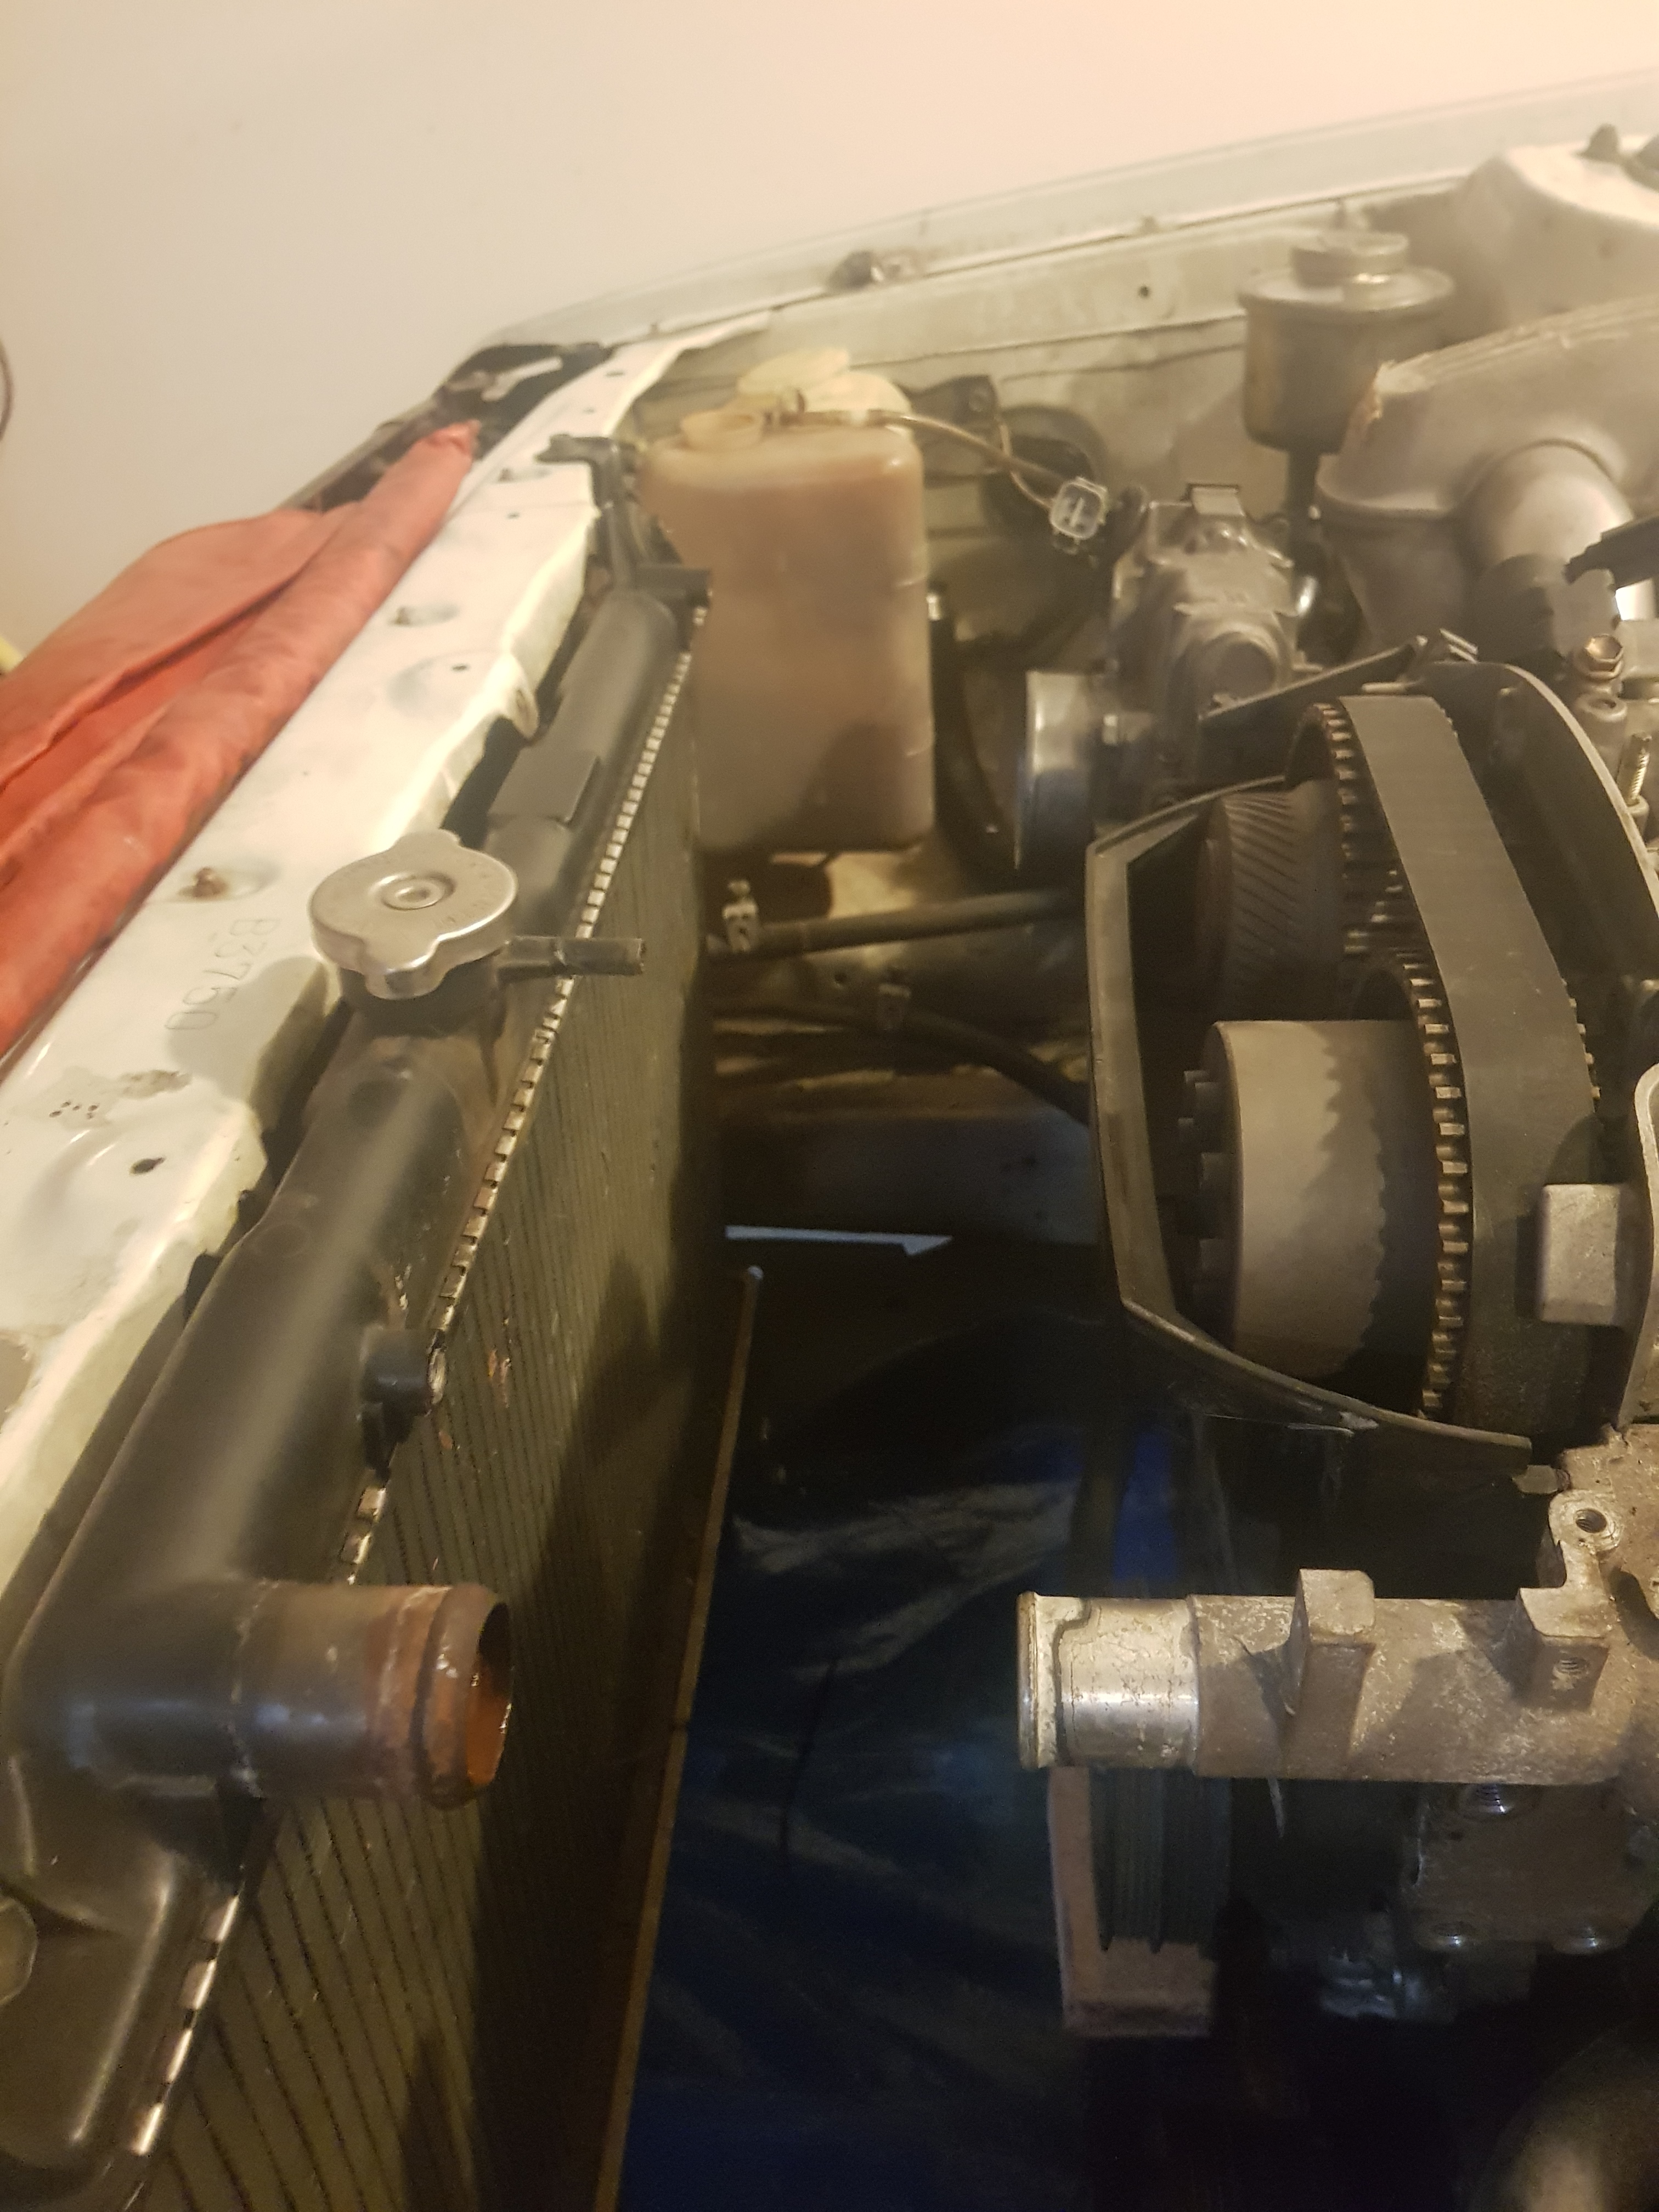
There is plenty of room at the front to fit new thermofans, even with all of the ancilleries fitted. the water in/outlets on the engine are also on the same side as the SA63 radiator.
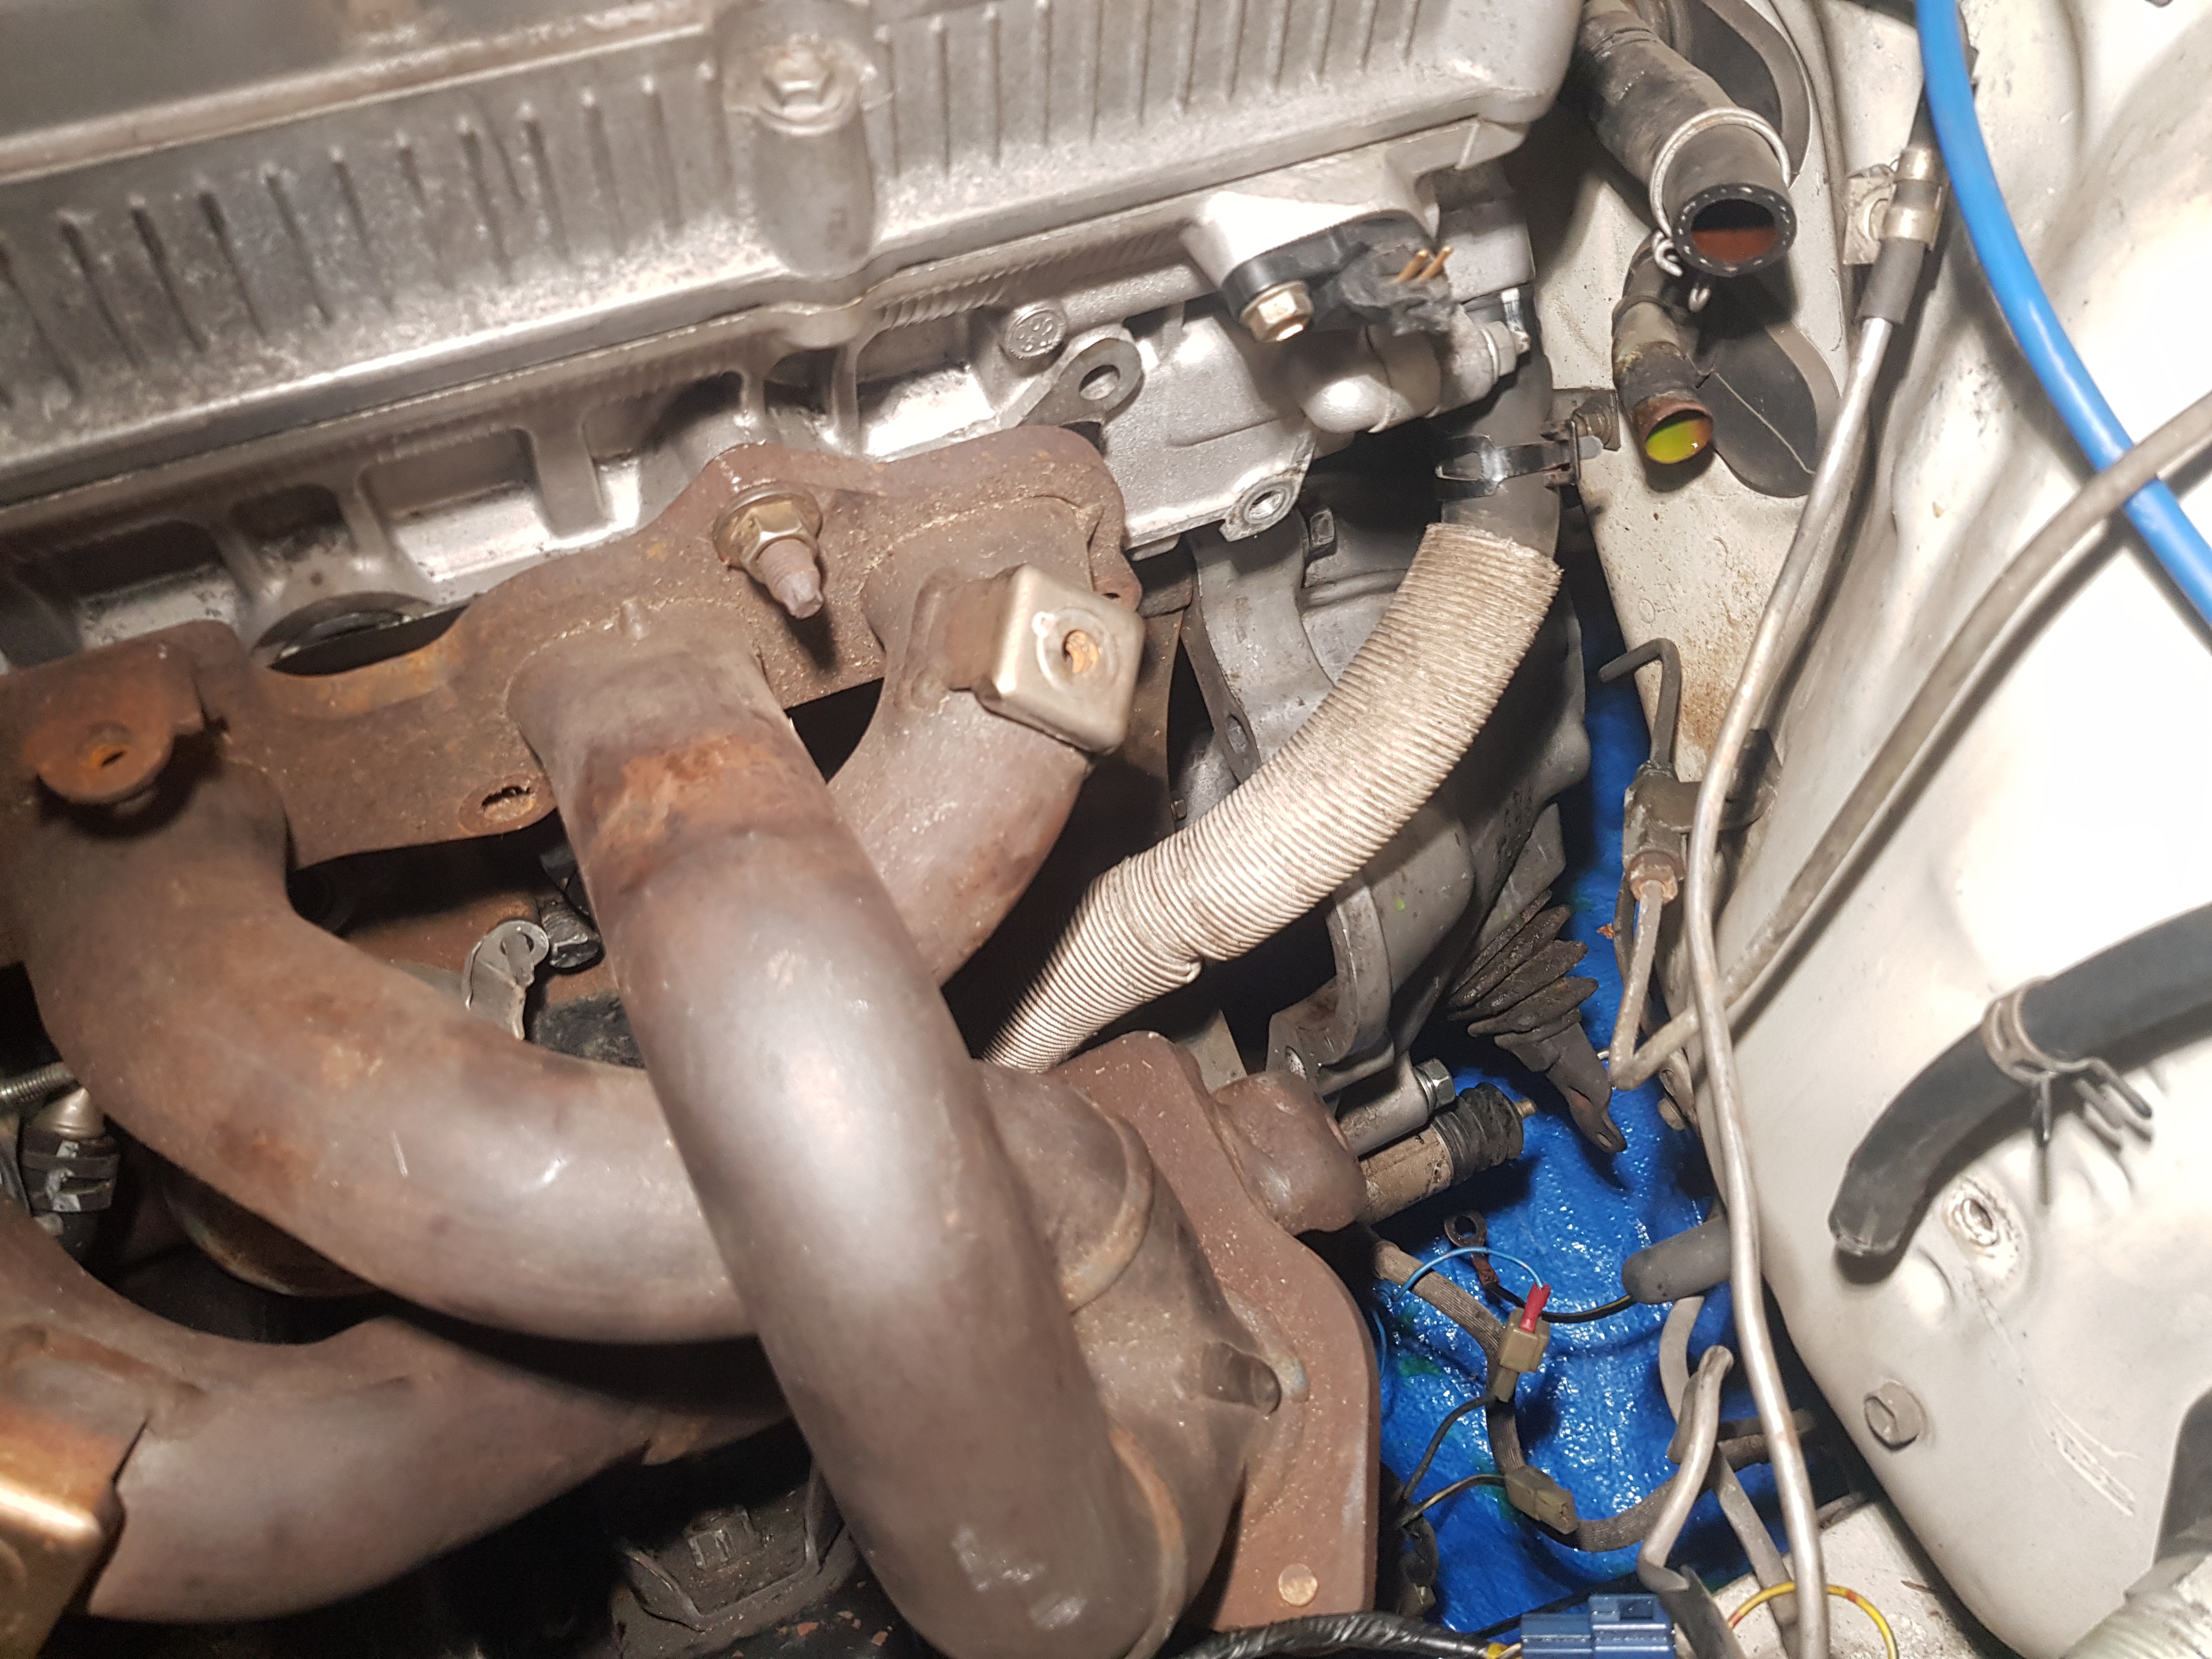
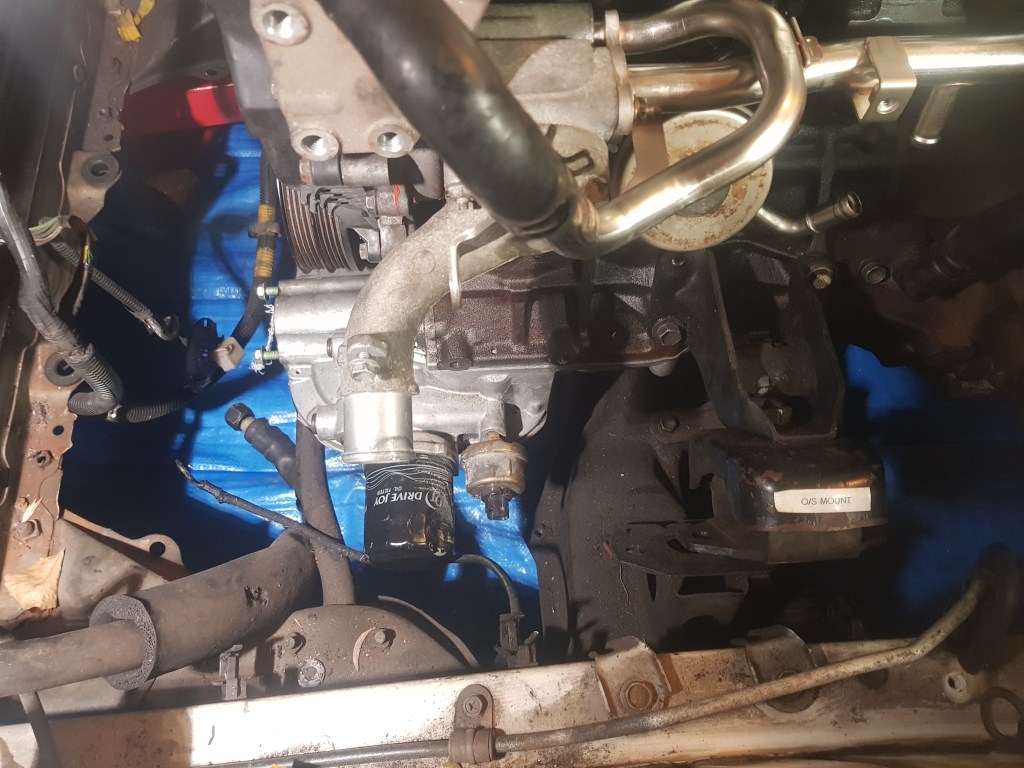
With the exhaust header on there is even less room for a starter…

The headers will not fit over a starter, even if its replaced with a more modern type. The starter will have to move.
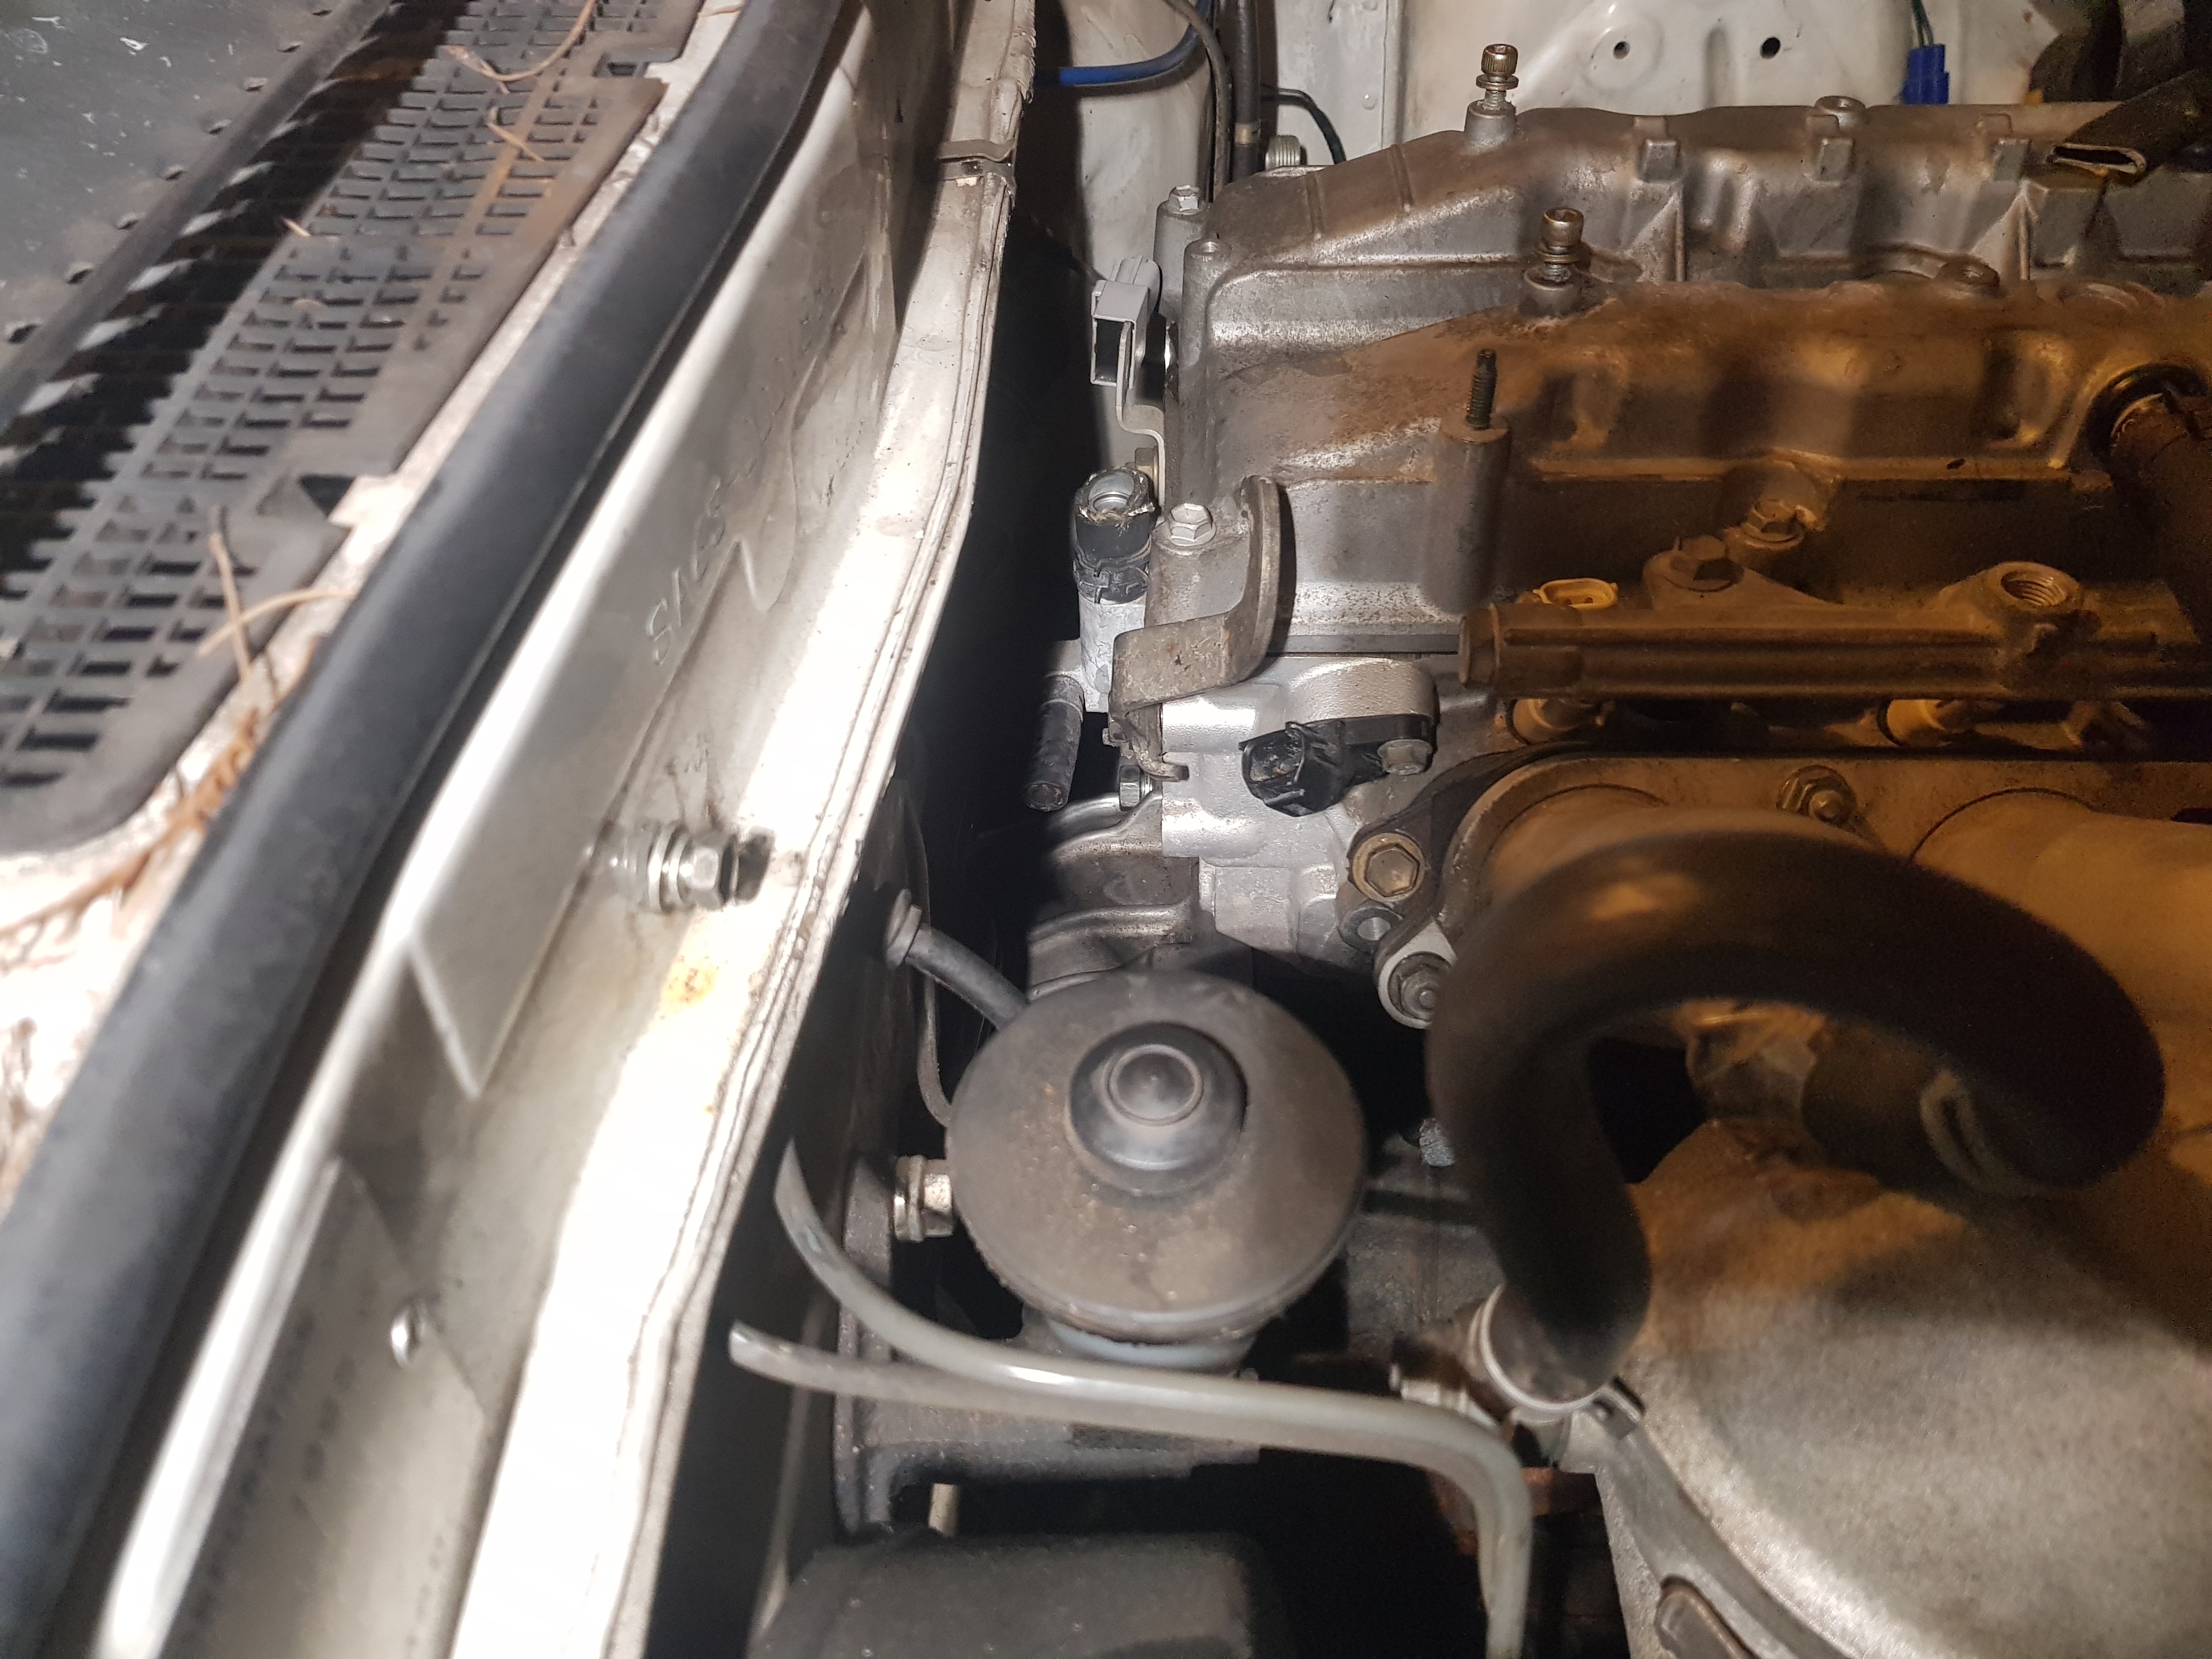
The firewall clearance is pretty good, running wiring and heater hoses shouldn’t be a problem
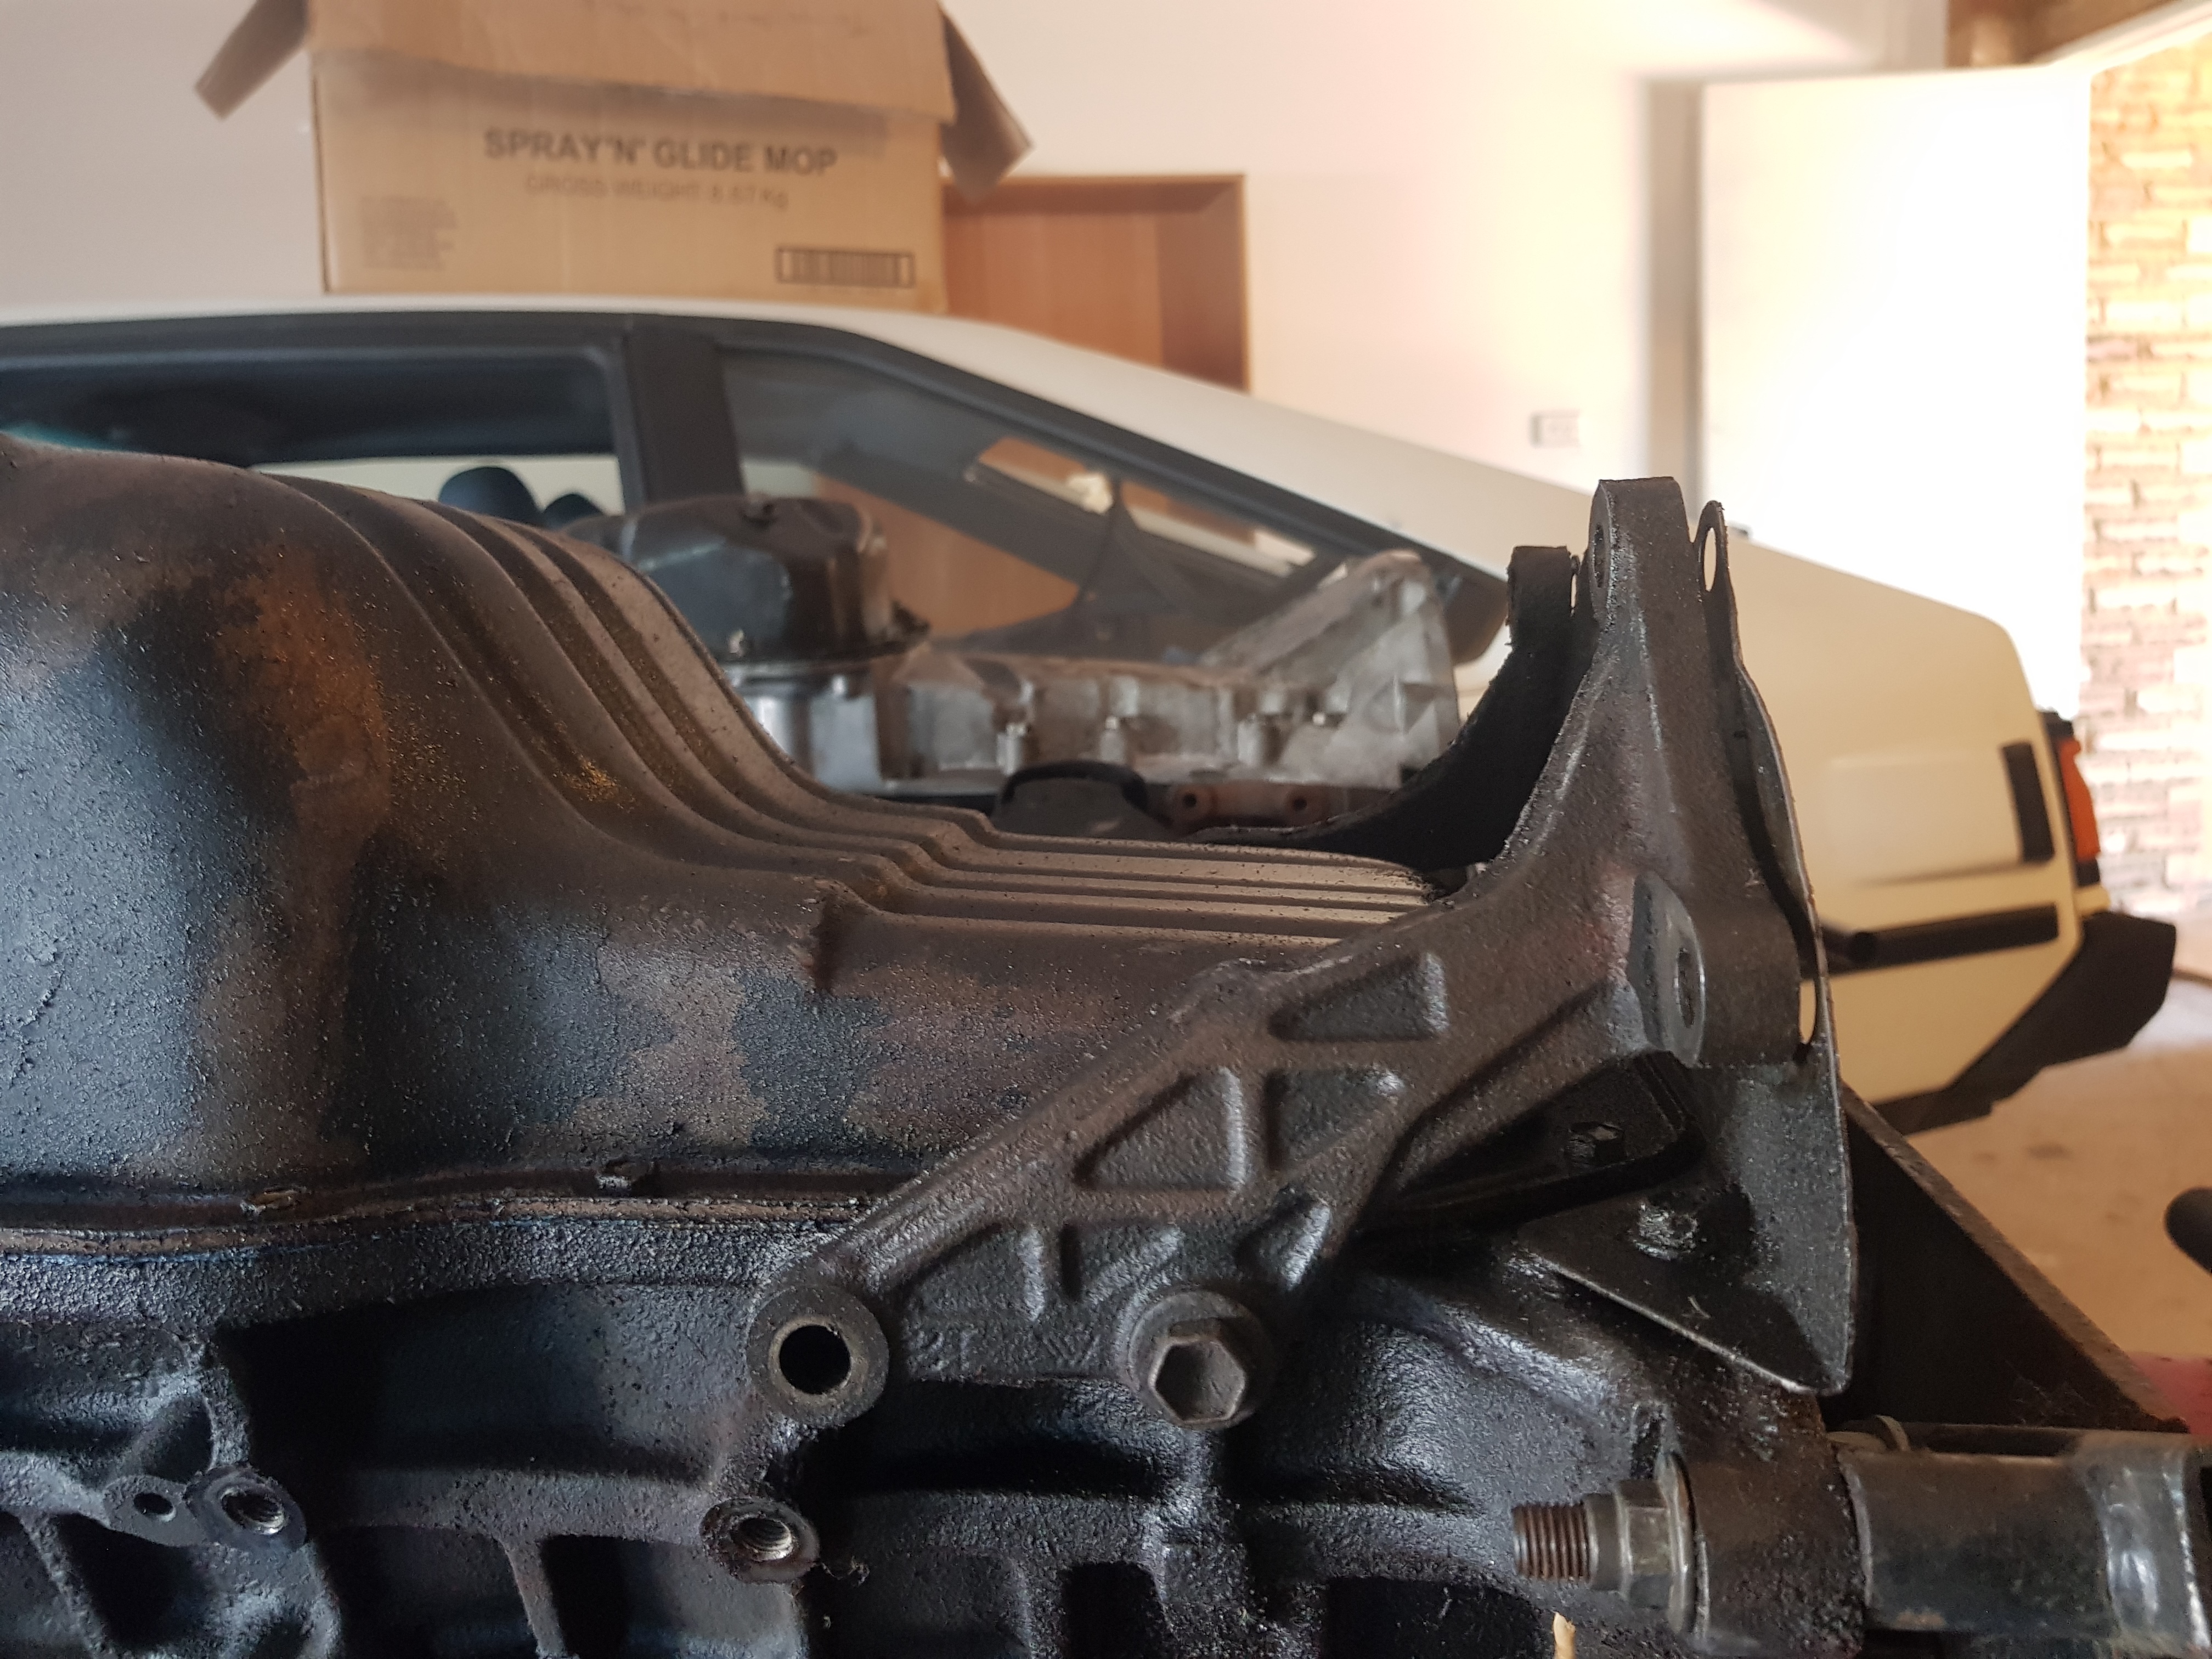
After Sump Modification

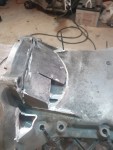

This is required for the engine to clear the steering rack. The sump is aluminium and is not a structural component of the engine so cutting the webbing won’t cause any issues. A steel plate will be fitted between the sump and bellhousing so debris cannot get inside and cause damage to the clutch and flywheel. This is just a rough cut once I know how much clearance I need I will make it neater.
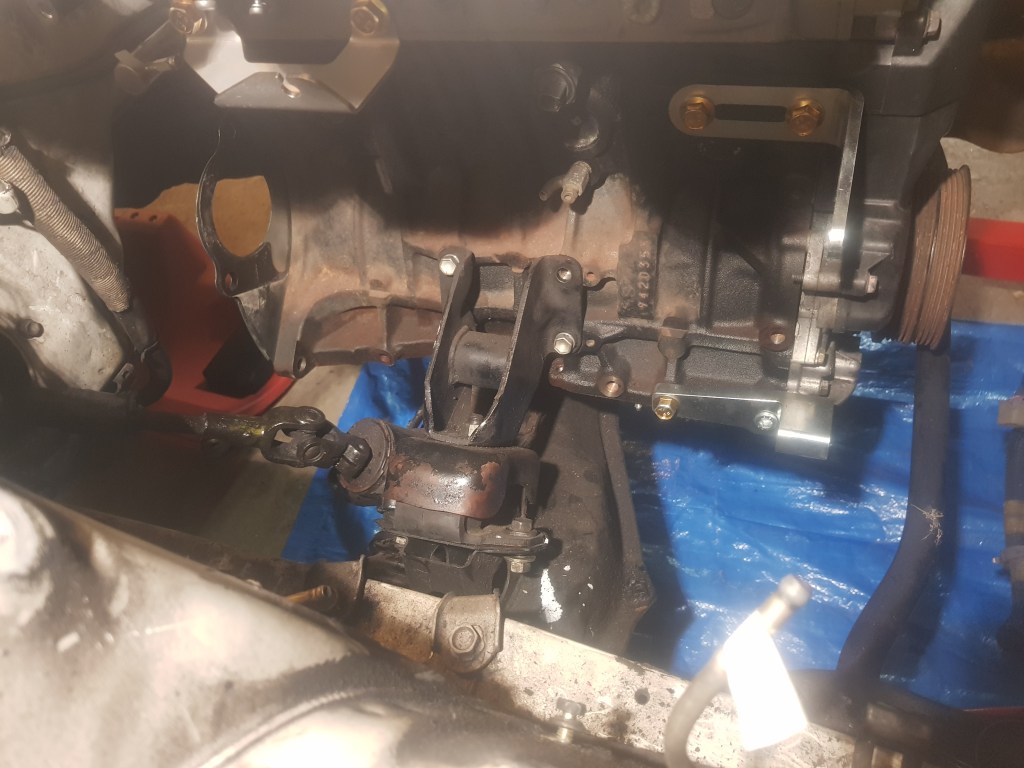
With the modified sump fitted to the engine I tried putting it back in the car. One thing I did not account for is how far forward the sump sits. It is fouling on the front sway bar. The mounts are nowhere near lining up. The sway bar has been removed for now. I will need to get a custom sway bar made, as it will need to sit a further 80mm forward to clear the sump.

Test fitted the new velocity stacks to check clearance with the rest of the engine bay. One issue I can see already is that the fluid reservoir on the clutch master will foul on the intake once the air filter is on. If i can move the reservoir up by ~50mm it should clear. Bonnet clearance on the stacks may also be an issue as it does look close to touching on the webbing of the bonnet. once the engine is bolted in I will have more of an idea if it will be a problem.
The firewall clearance is decent, I will be reusing the original heater tap so I just need to plumb up the heater tap inlet to the coolant return line, and the heater box from the outlet on the head.
The clearance on the exhaust side is a lot better now that the starter and clutch slave have been moved to the inlet side. The Celica bay is actually larger than the Altezza’s, apart from possible bonnet clearance problems everything else should fit.
There is still a lot of components that need to be fitted on the intake side, but there is a lot of free space here. The Sa63 mounts take up less space than the more modern cast alloy altezza counterparts. I will be using a more compact 2NZ alternator from a Toyta yaris/echo which will save some space compared to the original 3SGE alternator and mount. The next step is taking the engine back out, cleaning the engine bay and starting to wire up the Haltech.
Related Posts:
Categories
